Last updated November 21, 2026
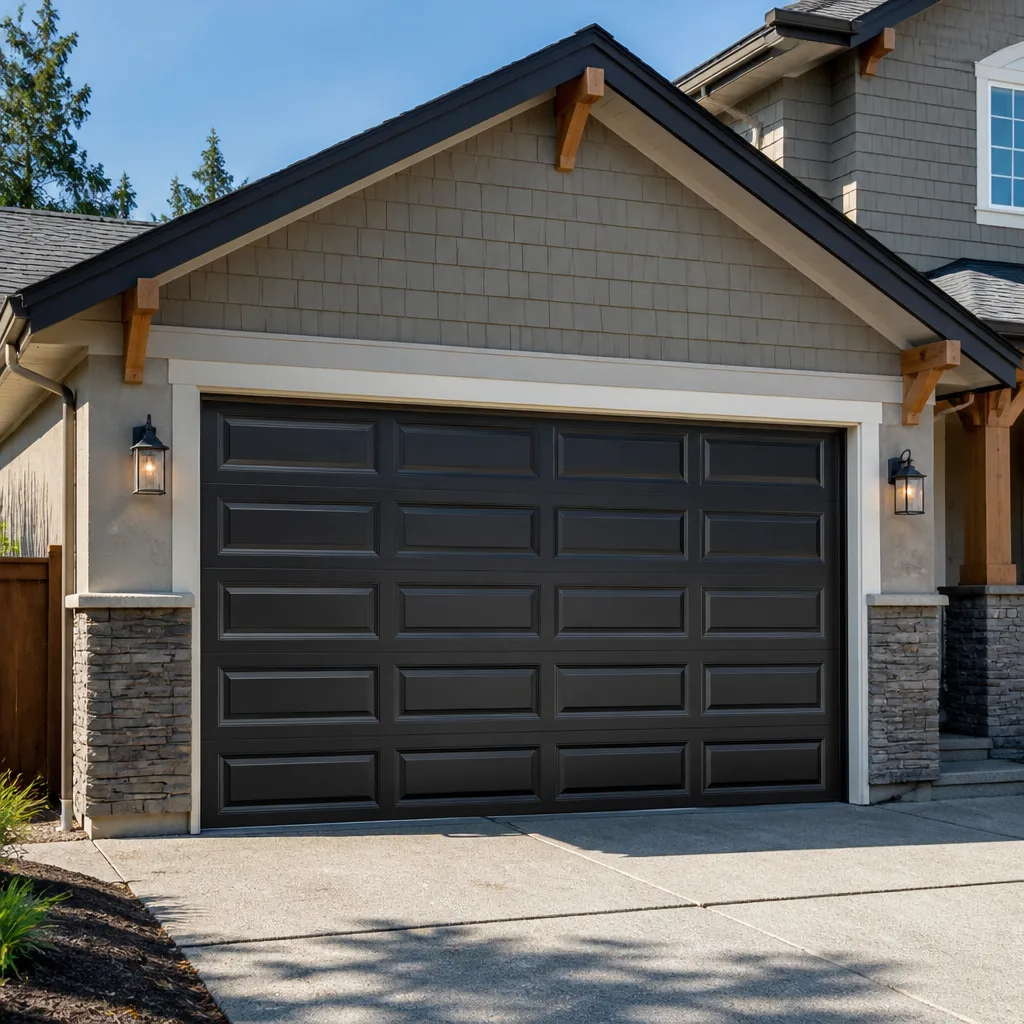 Raised-panel steel
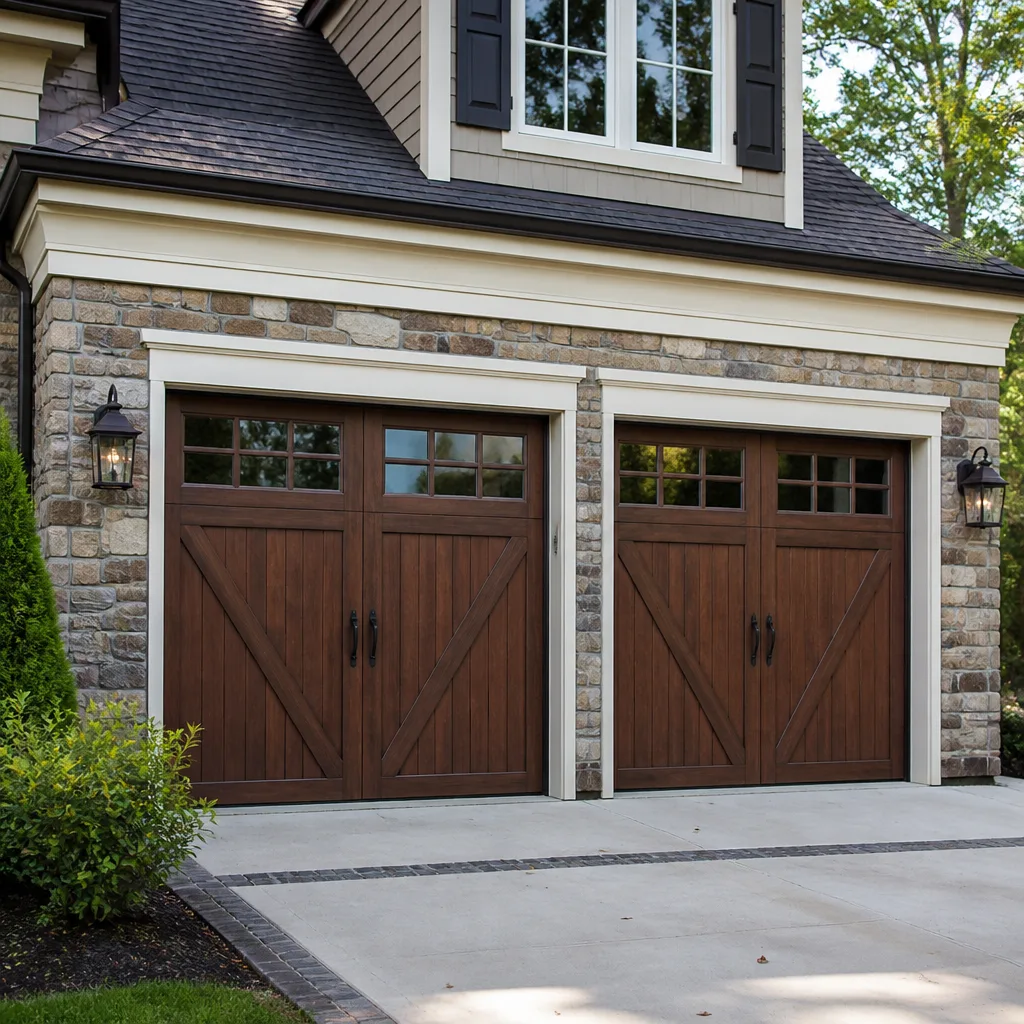 Carriage house
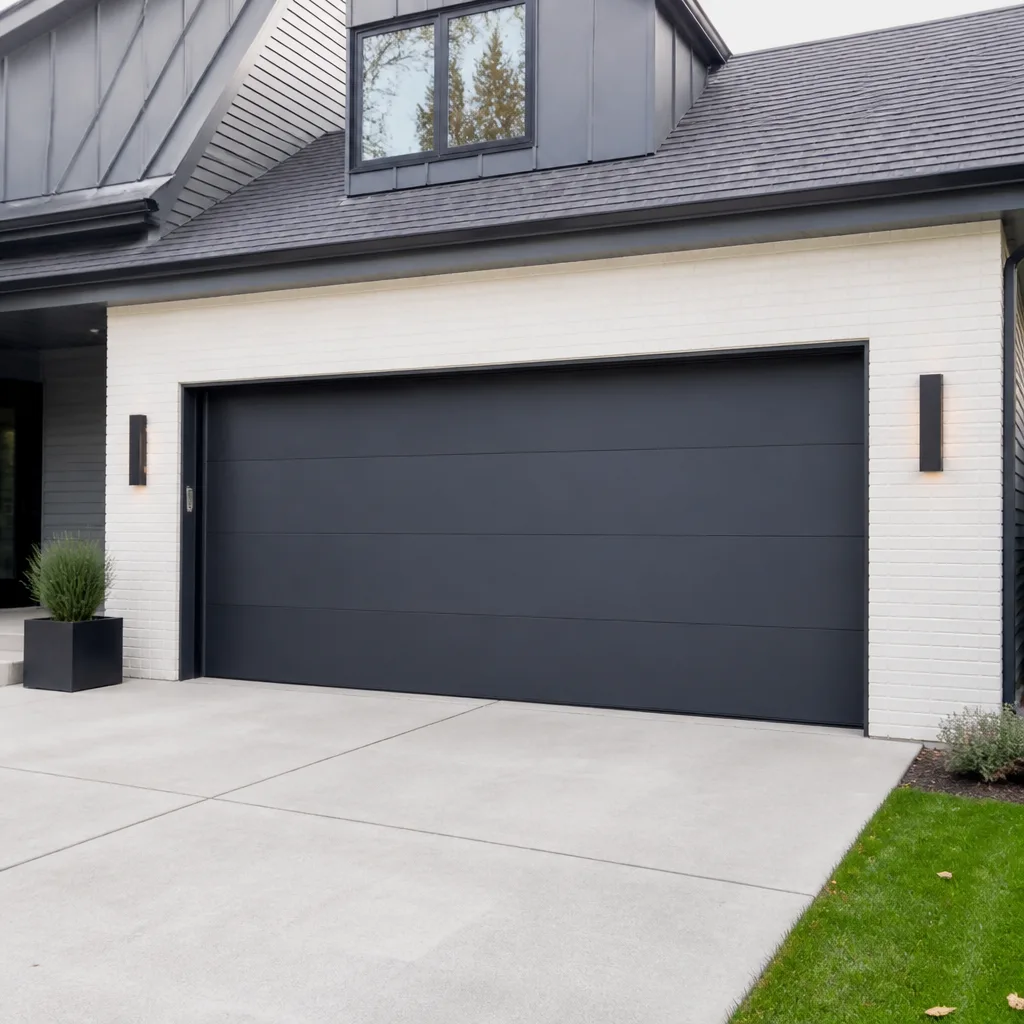 Modern flush
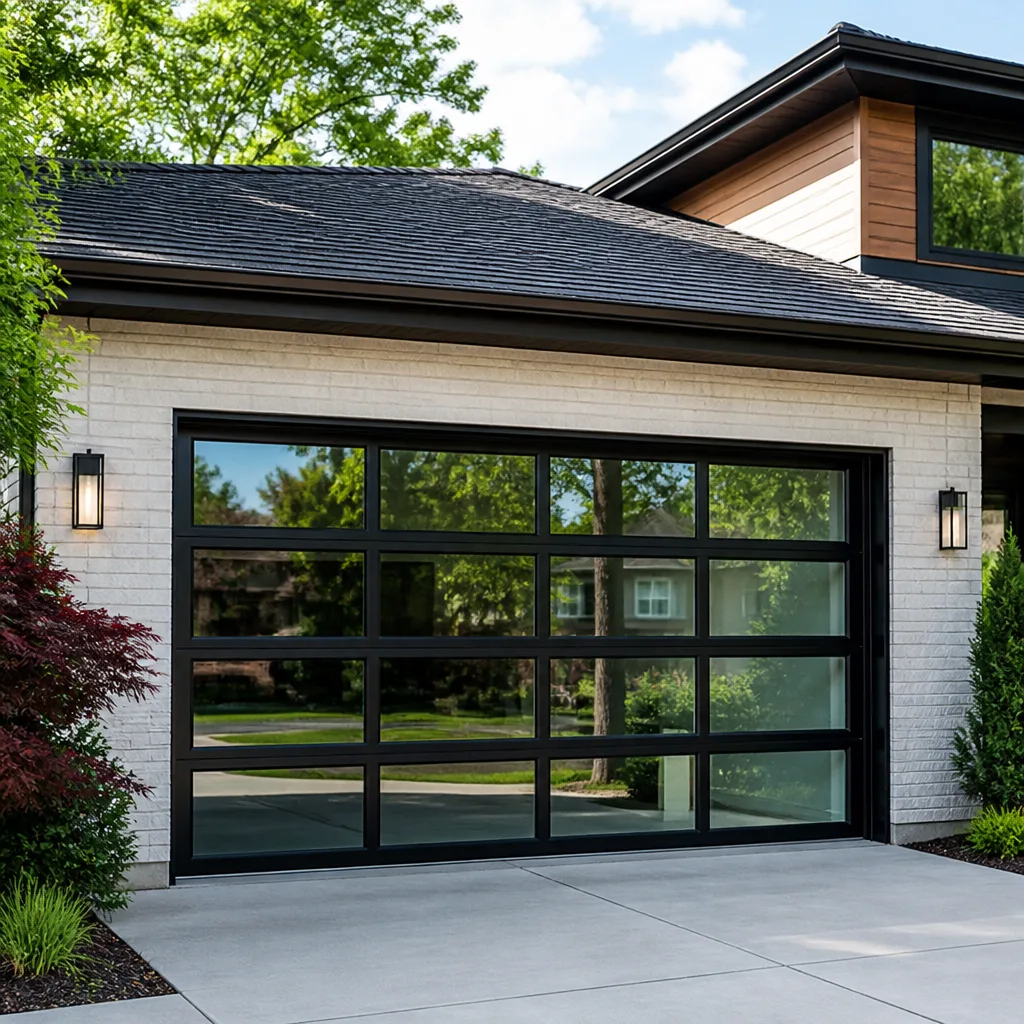 Full-view glass
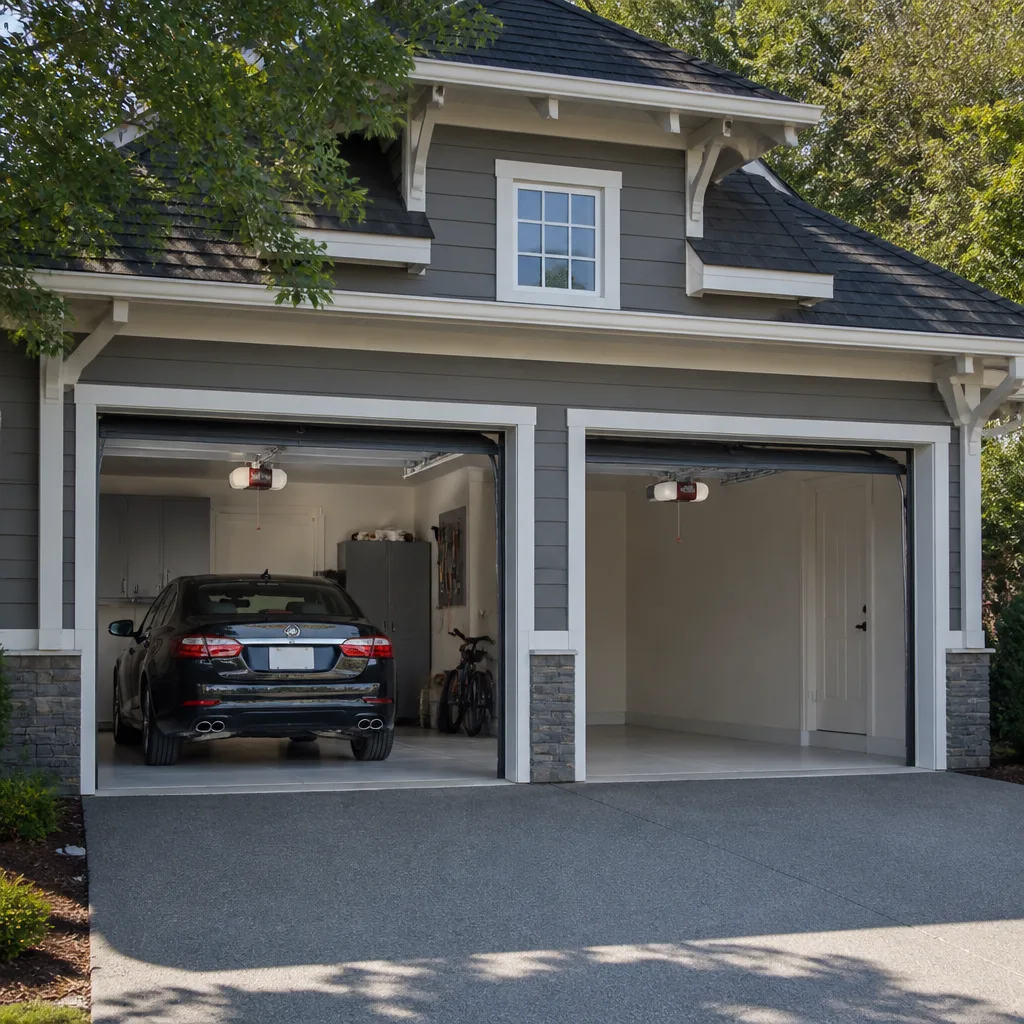 LiftMaster openers
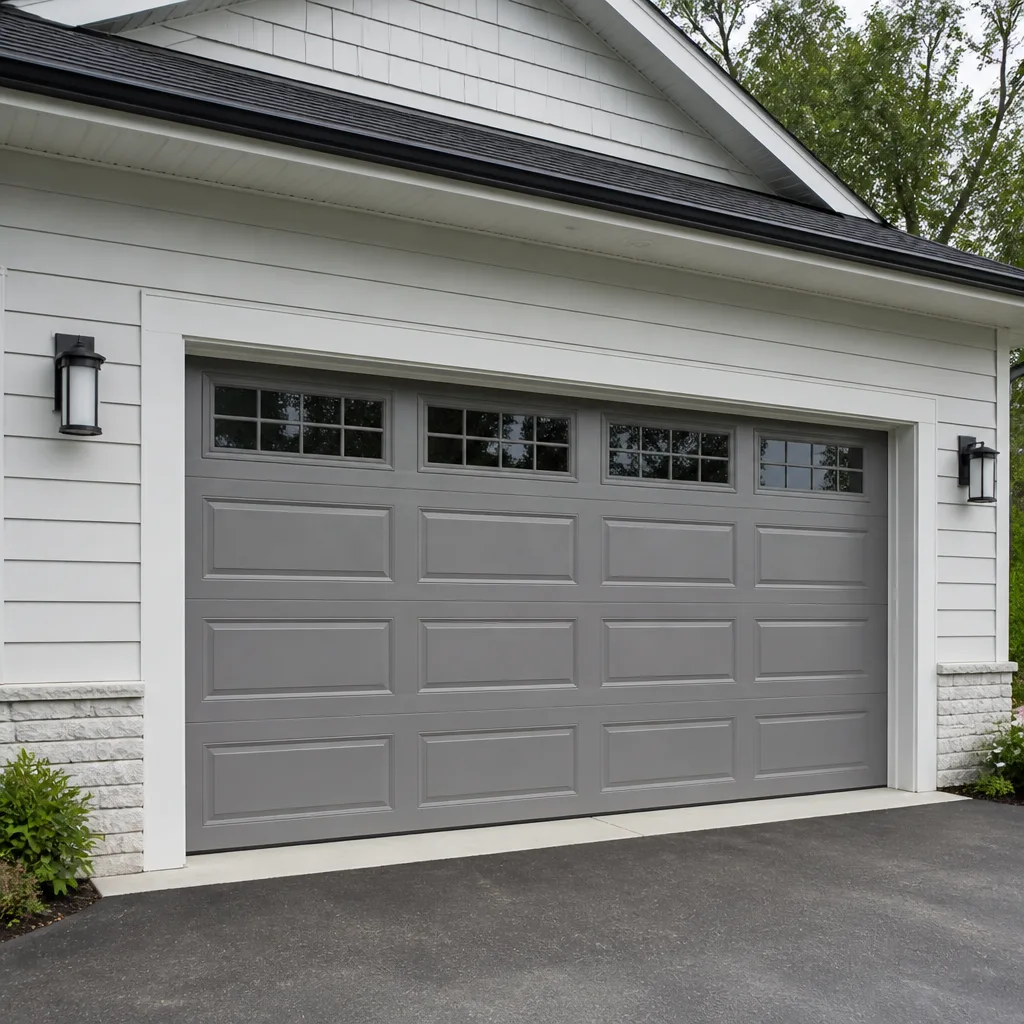 Chamberlain openers
Full 25-point door and opener safety check with every visit - springs, cables, rollers, tracks, and your LiftMaster or Chamberlain opener included
You get a price before we start. It does not change when the pro arrives.
Get your free estimateGarage Door Repair Maintenance Checklist for Belmont Cragin Homeowners
The call that comes in most often on the coldest mornings of the year isn’t about a part that wore out overnight. It’s about a door that was never lubricated in October. A garage door can look and sound fine through a whole Chicago summer and still fail on the first hard freeze, because the parts that bind in cold weather are the same parts nobody thinks to touch in warm weather. This guide is built around that reality: a checklist timed to when failure actually happens in Belmont Cragin, with the two high-risk windows (late October before the freeze and late March when temperatures swing hardest) doing the heavy lifting. You’ll get the specific parts you can inspect and lubricate yourself, the ones you should never touch, how to test balance and auto-reverse safely, and how to log maintenance so a technician can diagnose faster when something does go wrong.
Quick Answer
In Belmont Cragin, the most effective garage door maintenance happens at two points in the year, not on a quarterly schedule: a full pre-winter checklist in late October before hard freezes set in, and a spring tension and balance check in late March when temperature swings are at their most extreme. Between those windows, a monthly visual inspection of rollers, hinges, weather seals and the safety reverse takes about ten minutes. Anything involving springs, cables, or the torsion system above the door is a technician-only job.
Styles & brands we work with
- Raised-panel steel
- Carriage house
- Modern flush
- Full-view glass
- LiftMaster openers
- Chamberlain openers
Table of Contents
- Why Belmont Cragin Doors Fail on a Schedule
- The Late October Pre-Winter Checklist
- The Late March Temperature-Swing Checklist
- What You Can Lubricate and Inspect Yourself
- What Requires a Technician
- How to Test Balance and Auto-Reverse Safely
- How to Log Maintenance (and Why It Matters)
- Detached vs. Attached Garages, Wood vs. Steel vs. Fiberglass
Why Belmont Cragin Doors Fail on a Schedule
A garage door doesn’t fail randomly. It fails when a specific combination of temperature, lubrication state, and part wear lines up poorly. In Belmont Cragin, that combination is predictable because the climate is predictable: long stretches of freezing weather from December into March, then weeks of freeze-and-thaw that swing the metal in the door and track from one extreme to the other. Metal expands in warmth and contracts in cold. A door that operated smoothly at 70 degrees can bind at 5 degrees because the panels have shrunk a fraction and the rollers no longer ride the track the same way.
The older housing stock through Belmont Cragin, much of it single-family homes and two-flats built in the mid-twentieth century, compounds this. Those garages were often built before insulation was standard, so the door and tracks experience the full outdoor temperature rather than a moderated one. A detached garage with no heat swings harder between seasons than an attached garage sharing a wall with the house. Neither is a problem on its own, but both make the timing of your maintenance matter more than it would in a milder climate.
There’s also the salt angle to think about, and it’s worth being clear about it. Road salt coats the lower panels, hinges, and bottom brackets of a garage door every winter in this neighborhood, and salt accelerates rust on steel hardware. Nothing you do in the fall stops that entirely, but the lubrication cycle that follows is what keeps salt from turning into seized hinges. That’s the whole logic of the checklist: act before the conditions that cause failure, not after.
The Late October Pre-Winter Checklist
Late October is the single most valuable maintenance window of the year in Belmont Cragin. You’re trying to get ahead of freezing temperatures before they lock the door in a bad state. Work through this list in order, and put lubrication last so you’re not greasing a part that’s about to be adjusted.
- Clear the seams and sweep the track. Grit, leaves, and salt residue sit in the track and the panel seams through summer. A soft brush or vacuum along the full length of both tracks keeps the rollers from riding over debris through the winter.
- Check the weather seal at the bottom and sides. Run your hand along the bottom rubber. If it’s cracked, hardened, or leaving a visible gap when the door is closed, cold air gets in and, worse, water gets in and freezes at the threshold. A compressed seal is a common cause of doors that ice to the floor.
- Check roller clearance in the track. With the door closed, look at where each roller sits in the track. Rollers should ride with a small, even gap, not rattle loosely or bind. A roller that’s loose in one month becomes a jump-the-track event when cold makes the metal shrink.
- Wipe the old grease off the hinges and clean the spring. Old hardened grease traps grit. Wipe it away before applying fresh lubricant, or you’re sealing the grit in.
- Lubricate hinges, rollers, and the torsion shaft bearings. A small amount of lithium grease or a garage-door-specific spray lubricant at each hinge pivot and each roller bearing. Never grease the tracks themselves.
- Note the spring tension. You’re not adjusting springs, you’re noting their condition. Look at the torsion spring above the door (or the extension springs along the track on older doors) for visible gaps, worn windings, or rust along the coil. If anything looks off, note it and call a technician before winter.
That lubrication cycle is the one that pays for itself every year. It’s a single can of lithium grease in late October against a service call in January when the door won’t lift, and the reason it works is that fresh lubricant keeps cold-weather parts from binding at the exact moment binding becomes a failure. If you take one thing from this guide, take that timing.
The Late March Temperature-Swing Checklist
By late March in Belmont Cragin, the freeze has loosened but hasn’t let go. Days in the 50s followed by nights at 25 are the hardest conditions a garage door sees, because everything that held through the winter is now expanding and contracting daily. March is when a door that seemed fine in February starts making noise, grinding on one side, or reversing for no obvious reason. The pre-winter checklist was about locking things down; this one is about inspecting what the winter did.
- Test the balance. See the dedicated section below for the safe method. A door that needs to be lifted more than partway by hand before it stays is telling you a spring has lost tension.
- Run the auto-reverse safety test. Place a 2×4 or similar solid object on the floor directly under the door’s path and close it. The door should stop and reverse. If it doesn’t, stop using the opener until a technician checks the safety system.
- Re-check roller clearance. Winter cold and salt can change how each roller sits. Rollers that bind in March are the ones most likely to cause a jump-the-track repair by summer.
- Inspect for rust on the lower panels, hinges, and bottom brackets. Salt exposure peaks in late winter. Surface rust on a hinge is a lubricate-and-monitor job; rust that has pitted a hinge or bracket is a replace-the-part job.
- Check the opener’s force and travel settings. If the opener has been straining through the winter, its force adjustment may be compensating for a mechanical problem. Have a technician confirm the mechanism is running freely rather than the opener being set to push harder.
- Test the manual release. Pull the release handle with the door closed and confirm you can lift the door by hand. Re-engage it cleanly and test the door through one full open-and-close cycle.
March is also the right time to schedule the annual opener service if you haven’t, since a straining opener is more likely to burn out its gear or capacitor after a hard winter. If you notice the opener running but the door not lifting, that’s a garage door opener repair conversation, not a maintenance one.
What You Can Lubricate and Inspect Yourself
The homeowner-safe portion of garage door maintenance is the part that doesn’t involve springs, cables, or anything under tension. That covers more than you’d think, and it’s the portion that prevents the bulk of cold-weather failures when done on schedule.
- Hinges. A drop of lubricant at each pivot point, once in fall and once in spring, plus any time a hinge starts to squeak.
- Rollers. Lubricate the bearing at the center of each roller. If a roller is visibly cracked, flat-spotted, or loose in its stem, note it for replacement rather than relubricating it.
- Weather seals. Inspect the bottom seal and side seals for cracks and gaps. Replacing a bottom seal is a straightforward homeowner job on most doors and worth doing before hard freeze.
- Tracks (cleaning only). Wipe or vacuum the track channel. Do not lubricate the track, and do not bend it back into shape by hand if it’s been hit; a bent track needs a technician’s alignment.
- Hardware tightness. Check that hinge bolts, roller brackets, and the track mounting brackets are snug. Snug, not overtightened; stripping a hinge bolt in a thin-gauge door panel creates a bigger problem than it solves.
- The photo-eye sensors. Wipe the lenses on both sensors at the bottom of each track and confirm the indicator light is solid. A sensor knocked slightly out of alignment is a common cause of doors that won’t close.
- Visual inspection of springs and cables. Look, don’t touch. Note any visible gaps, frayed cable strands, rust along a spring coil, or a cable that’s come off its drum. Report what you see.
This is the list a technician would give a first-time homeowner. It’s meaningful prevention, and it costs almost nothing. If a door you’ve maintained this way still develops a problem, it’s usually because a part reached the end of its life, not because maintenance was skipped.
What Requires a Technician
Garage door springs store enough energy to seriously injure a person handling them without the right tools and training. That’s not a disclaimer we’re adding for liability reasons; it’s the single most important safety rule in this guide. A torsion spring under normal residential tension can cause serious injury to hands, arms, and the head if it releases unexpectedly, and the winder tools and procedures a trained technician uses exist for a reason. Leave these to a professional:
- Torsion springs. Both the springs above the door and the winding and unwinding process. Never attempt to adjust or replace a torsion spring yourself.
- Extension springs. Same rule. Extension springs along the horizontal track are under tension and must be handled with the correct safety retainers in place.
- Cables and drums. Cables are under tension and can whip if released. A frayed cable is a stop-using-the-door situation, not a monitor-it situation.
- Bottom brackets. Under cable tension on most doors. Do not loosen the bolts.
- Opener force and travel calibration when a mechanical fault is present. Adjusting the opener to force a door closed over a binding track is masking a problem, not fixing one.
- Track realignment on a door that’s come off its track. Never force a derailed door back into place by hand; this is where people get hurt.
Spring repair is a core part of what we do, which is why we say this so plainly: people get hurt trying to handle this themselves. If a spring is broken, the door is unbalanced, or you see anything wrong with the cable or bottom bracket, call us and stop operating the door. Our technicians have up to 10 years of experience with torsion and extension springs, and we work on the brands already installed in most Belmont Cragin homes and garages, including Amarr, Wayne Dalton, and Craftsman systems.
How to Test Balance and Auto-Reverse Safely
Both tests are worth running a few times a year, especially in late March. Neither requires tools, and neither involves touching a spring or a cable. Read through the whole procedure before you start, and don’t run either one if the door is visibly off its track, the cable is frayed, or the spring is broken.
Balance test:
- Close the door fully, then pull the manual release handle to disconnect the opener. The door should now move by hand only.
- Lift the door slowly by hand to about waist height, then let go. A properly balanced door should stay where you let go, or drift only slightly.
- Now lift it to about halfway and let go. Same result expected.
- What the results mean: If the door drops quickly from either position, a spring has lost tension; if it lifts almost on its own, a spring is over-tensioned. Both are technician jobs. If it stays put in both positions, the balance is good, and the opener is doing the minimum work it should.
- Reconnect the opener by closing the door by hand and pulling the release handle back into engagement. Test the opener through a full cycle.
Auto-reverse test:
- Lay a solid object about two inches tall (a 2×4 works) flat on the floor directly in the path of the closing door, centered.
- Close the door using the opener or wall control.
- The door should contact the object and reverse within a moment. It should not press down and stop, and it should not attempt to keep pushing.
- What the results mean: If the door reverses cleanly, the safety reverse is working. If it does not, stop using the opener and call a technician; this is the single most important safety function on an automatic door.
Test the photo-eye safety sensors the same way by placing an object between the sensors at the bottom of the tracks while the door is closing. The door should reverse immediately. If it doesn’t, realign or clean the lenses and test again; if it still fails, call.
How to Log Maintenance (and Why It Matters)
Most homeowners don’t keep a maintenance log, and the ones who do usually find that it pays off the first time they call a technician. A written record of when a part was last lubricated, when a spring was replaced, and what the balance test showed in March turns a vague “the door’s been acting up” into a specific starting point. A technician can skip the guesswork and go straight to the parts most likely at fault.
Here’s what’s worth logging, whether on paper taped to the garage wall or in a notes app:
- Date of each fall and spring maintenance cycle.
- Which parts you lubricated or replaced.
- Results of the balance test in March (stayed, dropped, lifted).
- Results of the auto-reverse and photo-eye tests.
- Visible condition of the springs and cables at each inspection (no gaps, minor rust, visible gap, etc.).
- Any part replacement with the date and, if you have it, the brand name.
- Any opener error-code flashes when the opener misbehaves, along with the date.
That last one is more useful than it sounds. Most modern openers (LiftMaster, Chamberlain, Genie, Raynor, and others) flash a specific pattern when something’s wrong. If you write down the pattern, a technician often knows exactly what to check before setting foot in the garage.
A log also matters if you ever need to file a claim. If a door failure causes damage, an insurer is going to ask what maintenance was done and when. A dated record showing the fall and spring cycle was performed and any part issues were documented gives you a clear answer. It’s not a guarantee of a claim outcome, but it’s the difference between “we don’t know” and “here’s the history.” Keep the log, even if you never use it.
Detached vs. Attached Garages, Wood vs. Steel vs. Fiberglass
Two variables change the checklist for Belmont Cragin homeowners, and both are worth understanding before you start your fall and spring rounds. The first is whether the garage is detached or attached; the second is what the door is made of.
Detached garages see the full outdoor temperature and humidity swing. That means seals degrade faster, metal hardware rusts faster from salt and moisture, and the fall lubrication cycle matters more. If the detached garage is unheated, a cold snap will make the door noticeably heavier to lift by hand, and the balance test in March will tell you whether the springs are keeping up.
Attached garages are moderated by the house wall, but that creates its own issue: moisture from the house can condense on the door and hardware in a way it doesn’t on a detached garage. Look for rust or mold along the interior face of the door and on the hinges, and check the seal at the pass-through door more often.
The door material changes what you’re looking for:
- Wood doors. Check for peeling finish and any soft spots, especially along the bottom edge where snow and salt sit. Wood needs refinishing on a shorter cycle than steel, and water intrusion at the bottom panel is the most common failure point in Belmont Cragin.
- Steel doors. Check the bottom edge and any dents for rust-through. A small dent that breaks the paint film becomes a rust spot in one winter. Touch up paint chips before the salt season.
- Fiberglass doors. Lighter and more forgiving of temperature, but check the panel inserts and hardware attachments for looseness and cracking. Fiberglass doesn’t rust, but it can chip, and a chipped edge lets water into the core.
If you’re weighing a replacement rather than continued repairs, our guide to garage door installation walks through what to expect from a new door and opener in this climate, including the door-height and insulation questions that come up most often with mid-century Belmont Cragin garages.
Common Mistakes to Avoid
- Lubricating the tracks. Tracks are meant to be clean and dry. Grease on the track traps grit, and rollers slide instead of roll, which accelerates wear on both the rollers and the track. Lubricate rollers and hinges, not the track.
- Skipping the fall cycle because the door “still works.” In Belmont Cragin, the door that works in September and binds in January usually had a neglected fall lubrication cycle, not a hidden defect. Do the October cycle even when nothing seems wrong.
- Adjusting opener force to compensate for a heavy door. Increasing force to push a binding door is how openers burn out and how safety reverses get defeated. If the door is harder to lift, the mechanism needs attention; the opener isn’t the problem.
- Ignoring the bottom weather seal. A hardened seal looks minor but lets meltwater under the door, where it freezes and can bind the bottom panel to the floor. This is a cheap part and a common January call. Replace it before the freeze, not after.
- Attempting a torsion spring adjustment to “tighten up” a heavy door. This is the mistake that leads to serious injury. Springs under tension are a trained-technician job, and the balance test will tell you if it’s time to call.
- Not logging maintenance. It’s easy to lose track of when seals were replaced or springs were last serviced, and that history matters when a technician needs to diagnose a problem or when an insurer wants documentation.
- Ignoring one roller that rattles. A single loose or cracked roller in October is one part; left through the winter, it can damage the track, and a track repair is a bigger job than a roller replacement.
See the difference
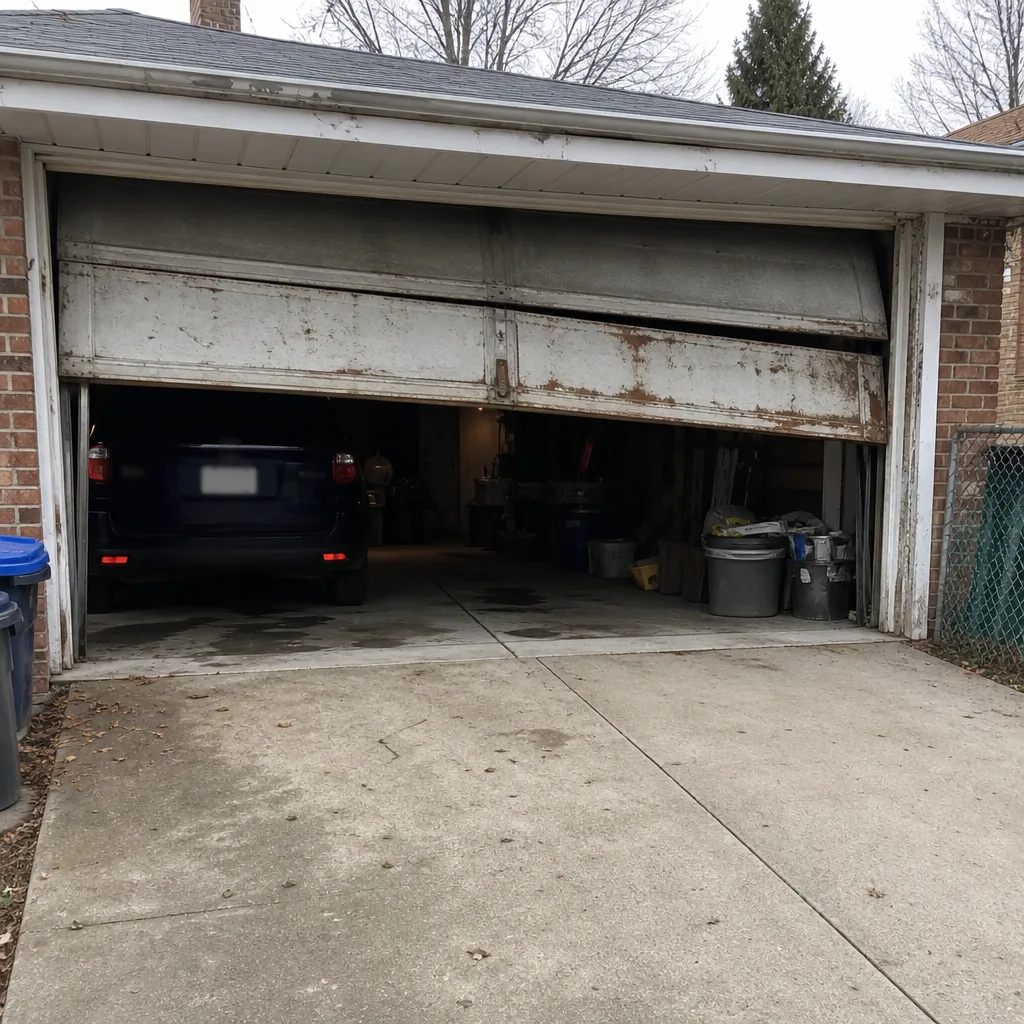 Before
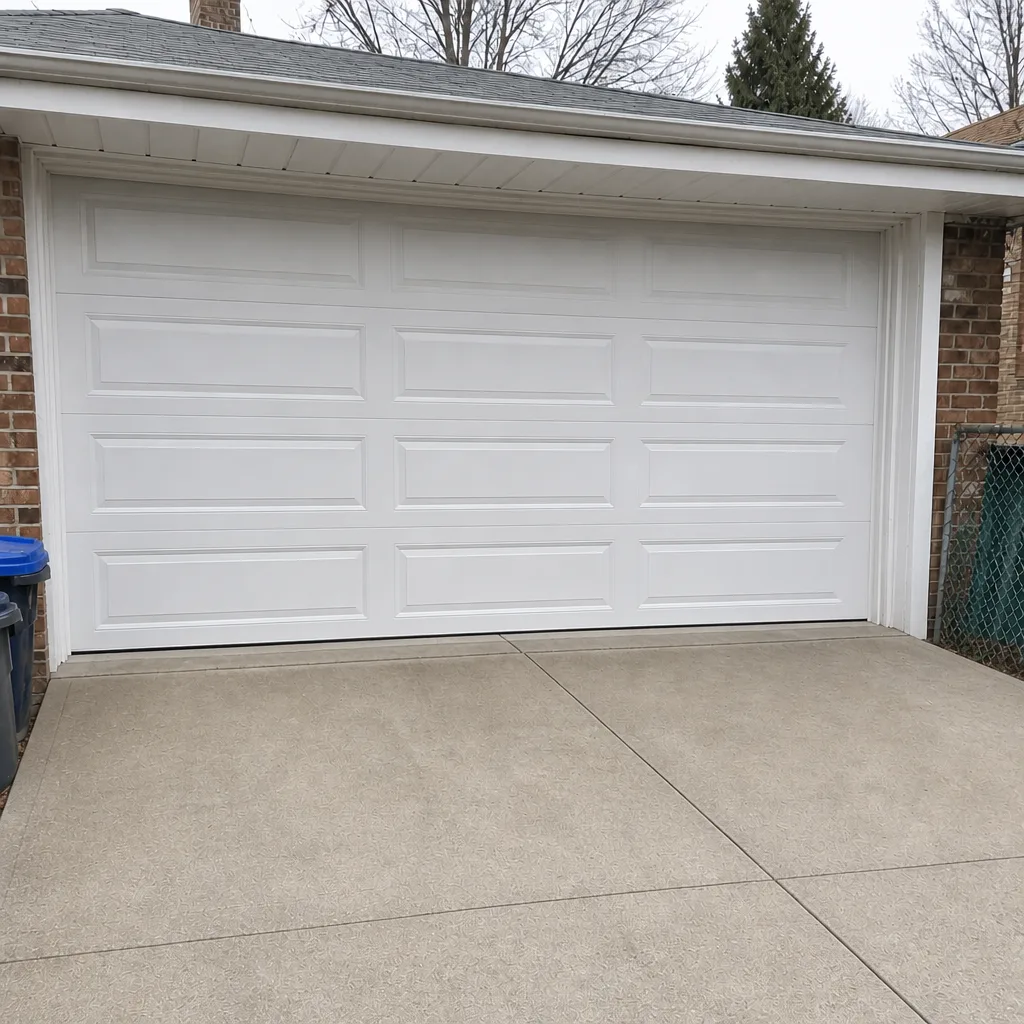 After
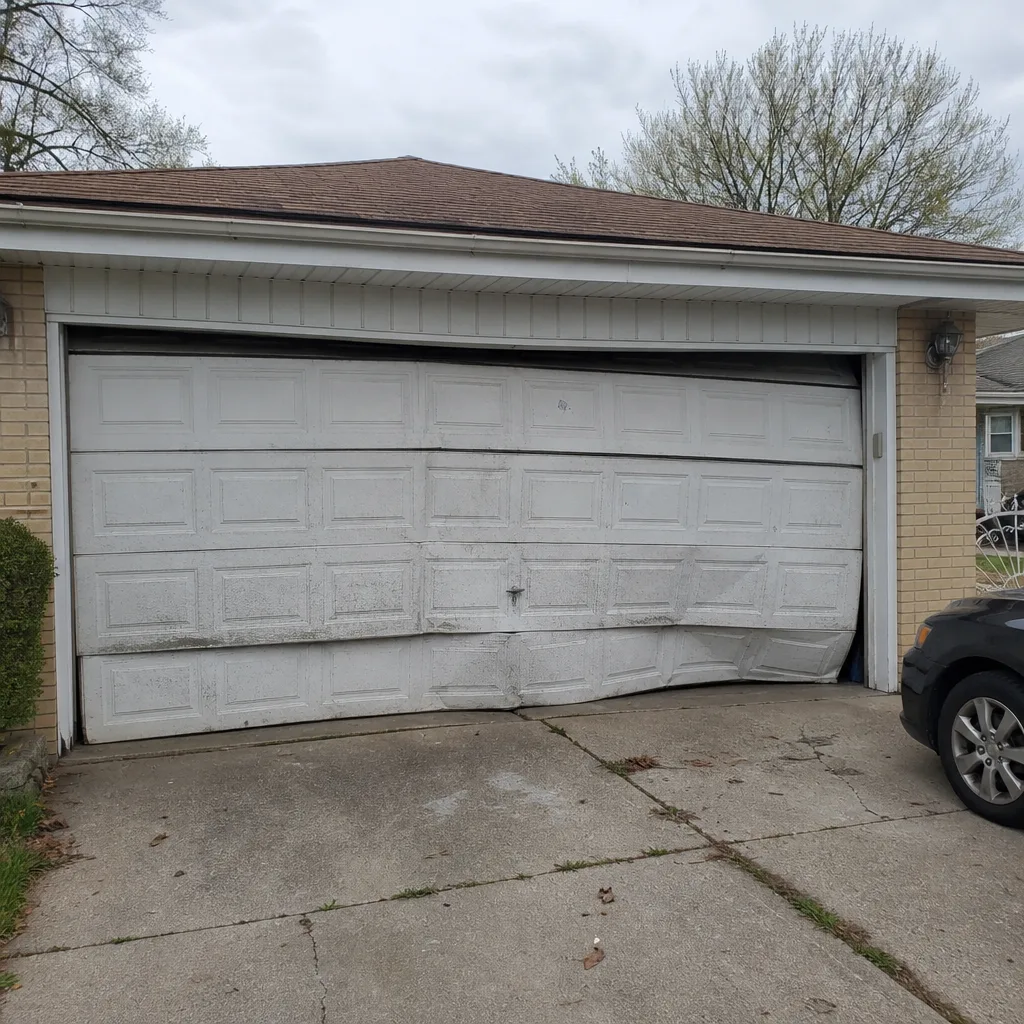 Before
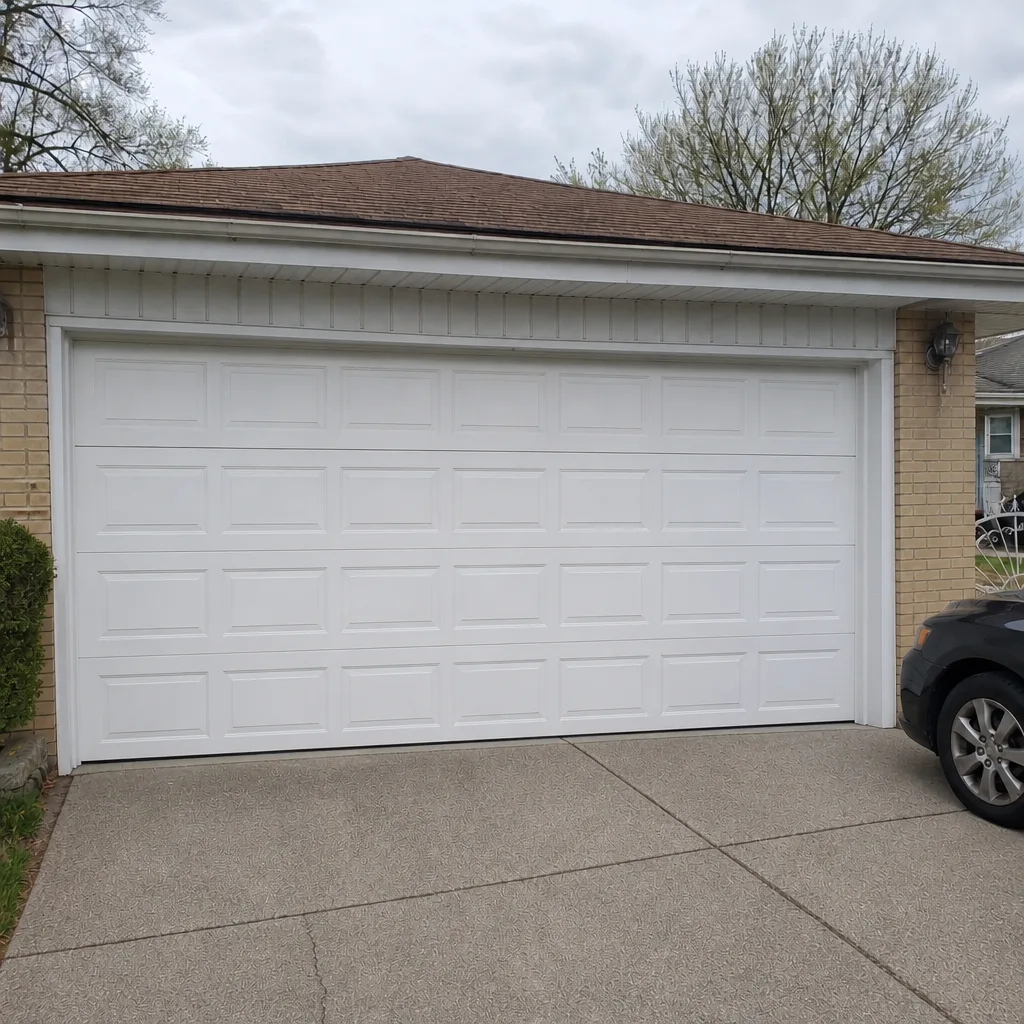 After
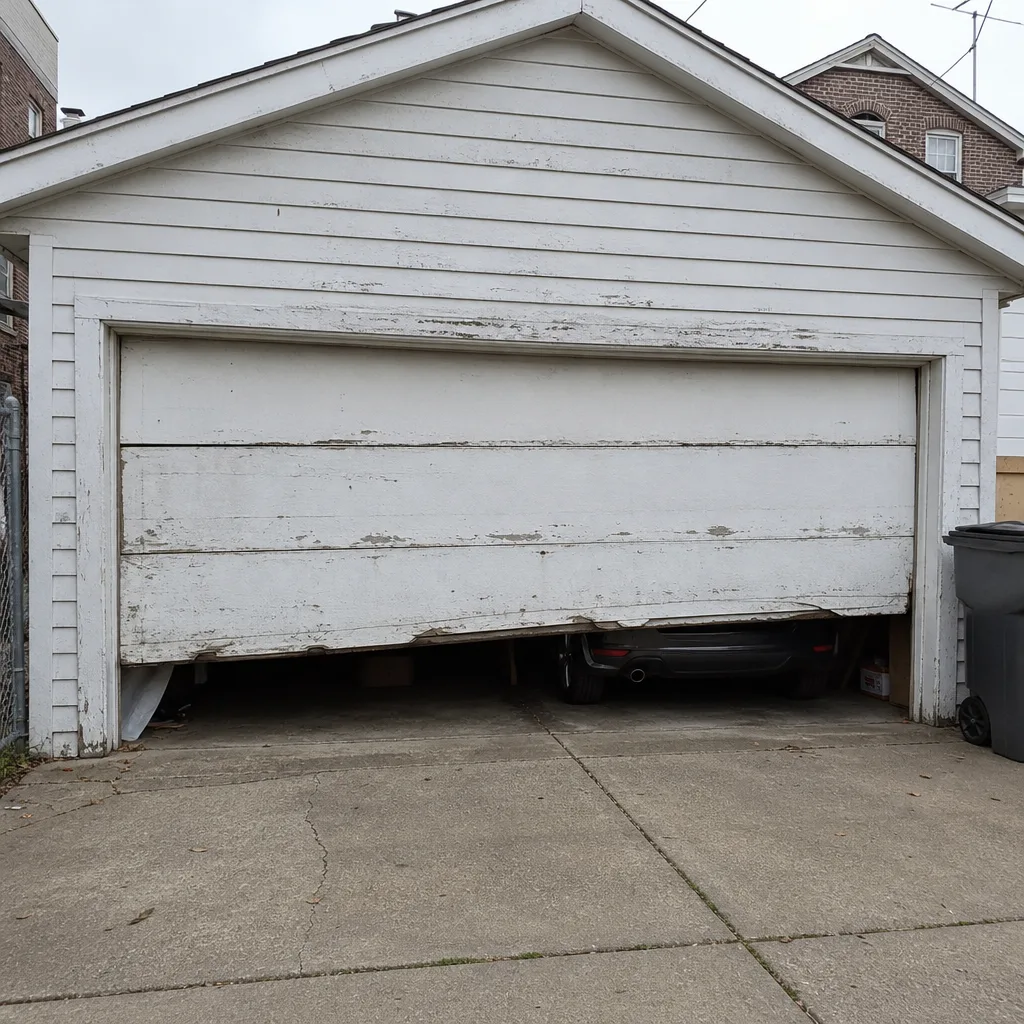 Before
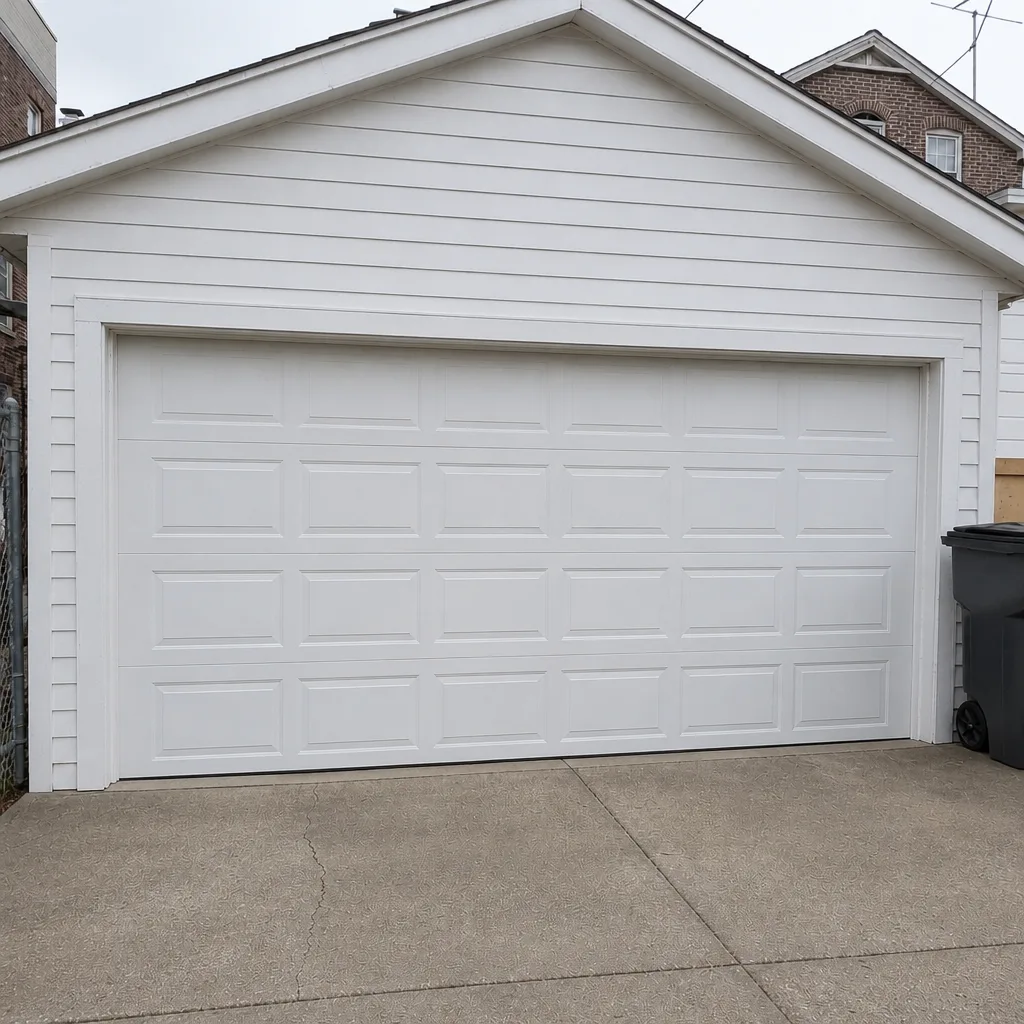 After
When to Call a Professional
Call a professional if the balance test in March shows a door that drops or lifts on its own, if a spring is broken (the door will feel very heavy to lift by hand, and the spring above it may have a visible gap), if the auto-reverse or photo-eye fails a test, if a cable is frayed or off its drum, if the door has come off its track or won’t close flush, or if the opener strains, flashes an error code, or runs without moving the door. Any of those means stop using the door and schedule service. Routine maintenance you can handle; anything involving springs, cables, or a door that’s misbehaving dangerously cannot wait. Garage Door Repair Belmont Cragin offers free estimates in Belmont Cragin – call (833) 468-5695. We work on the brand you already have, including Amarr, Wayne Dalton, Craftsman, Raynor, LiftMaster, Chamberlain, Genie, and Clopay systems, and we can quote an exact price for your door after a quick look.
Frequently Asked Questions
Twice a year is the right cadence here, timed to late October and late March rather than spread evenly across the calendar. The October cycle prevents freeze-related failures; the March cycle catches what winter did. Between those, a quick monthly look at rollers, seals, and the safety reverse catches most developing problems early. Call (833) 468-5695 if anything on the checklist isn’t right and you want it looked at.
Yes. Hinges, roller bearings, the torsion shaft bearings, and the weather seals are all homeowner-safe to lubricate and inspect. Springs, cables, drums, and bottom brackets are not; those are under tension and belong to a technician. Use lithium grease or a garage-door-specific lubricant, and never grease the tracks. If you’re not sure whether a part is safe to touch, call us and we’ll tell you.
The door will feel much heavier than normal when you lift it by hand, and the opener may strain or fail to lift it at all. Look at the spring above the door for a visible gap in the coil (torsion) or a spring that’s stretched and hanging loose along the track (extension). Never attempt to adjust or replace a spring yourself. Call (833) 468-5695 and we’ll come out and quote the repair; estimates are free.
A hardened or compressed bottom weather seal is the most common cause. It lets meltwater wick under the bottom panel, which freezes overnight and binds the door to the floor. A seal that’s cracked or leaving a visible gap when the door is closed needs replacing before the freeze, not after. In an attached garage, condensation along the interior face can contribute too. If the door is already frozen shut, don’t force it with the opener; call us and we’ll help you get it moving again.
Maintenance won’t guarantee a claim outcome, but a dated log showing the fall and spring maintenance cycles were performed and that any spring or cable issues were documented gives you a clear history to share if a claim comes up. An insurer is going to ask what maintenance was done and when. Our technicians can note what they observed if you’ve kept a log and want a professional record.
Yes. We service Amarr, Wayne Dalton, Craftsman, Raynor, LiftMaster, Chamberlain, Genie, and Clopay systems, which covers the vast majority of what’s installed in Belmont Cragin. If you have a garage door repair need on a brand not on that list, call (833) 468-5695 and we’ll tell you straight whether we can work on it. For general service questions, see our Garage Door Repair Belmont Cragin page.
The Bottom Line
Garage door maintenance in Belmont Cragin isn’t a year-round habit; it’s two well-timed cycles. Late October is when you lock the door down against the freeze: lubricate the hinges and rollers, check the seals and roller clearance, note the spring condition. Late March is when you find out what winter did: test balance and auto-reverse, check for rust and roller wear, get anything off the checklist in front of a technician. Lubricate and inspect what’s safe to touch, log what you did, and leave the springs, cables, and bottom brackets to a specialist. Our technicians have up to 10 years of experience, and we’ve seen what a well-timed October lubrication cycle prevents. If your door needs more than the checklist covers, we’ll diagnose it and quote it before any work starts.
If anything on this checklist turns up a problem, or your door is already binding, sagging, or refusing to close, call (833) 468-5695 for a free estimate. We’ll tell you exactly what’s wrong and what it costs to fix it, and if you’re looking at a replacement rather than a repair, our guide to garage door repair in Belmont Cragin walks through the repairs we handle most.
Written by the team at Garage Door Repair Belmont Cragin.