Last updated November 21, 2026
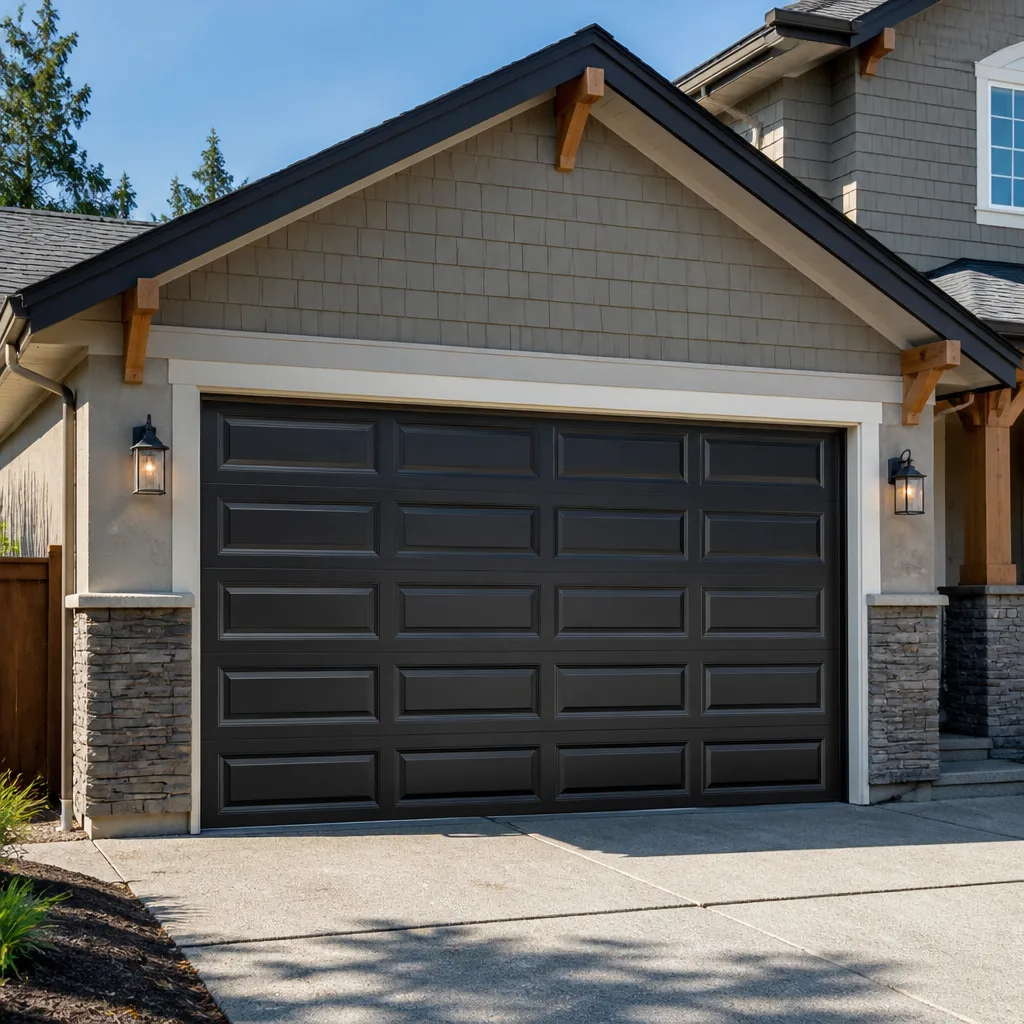 Raised-panel steel
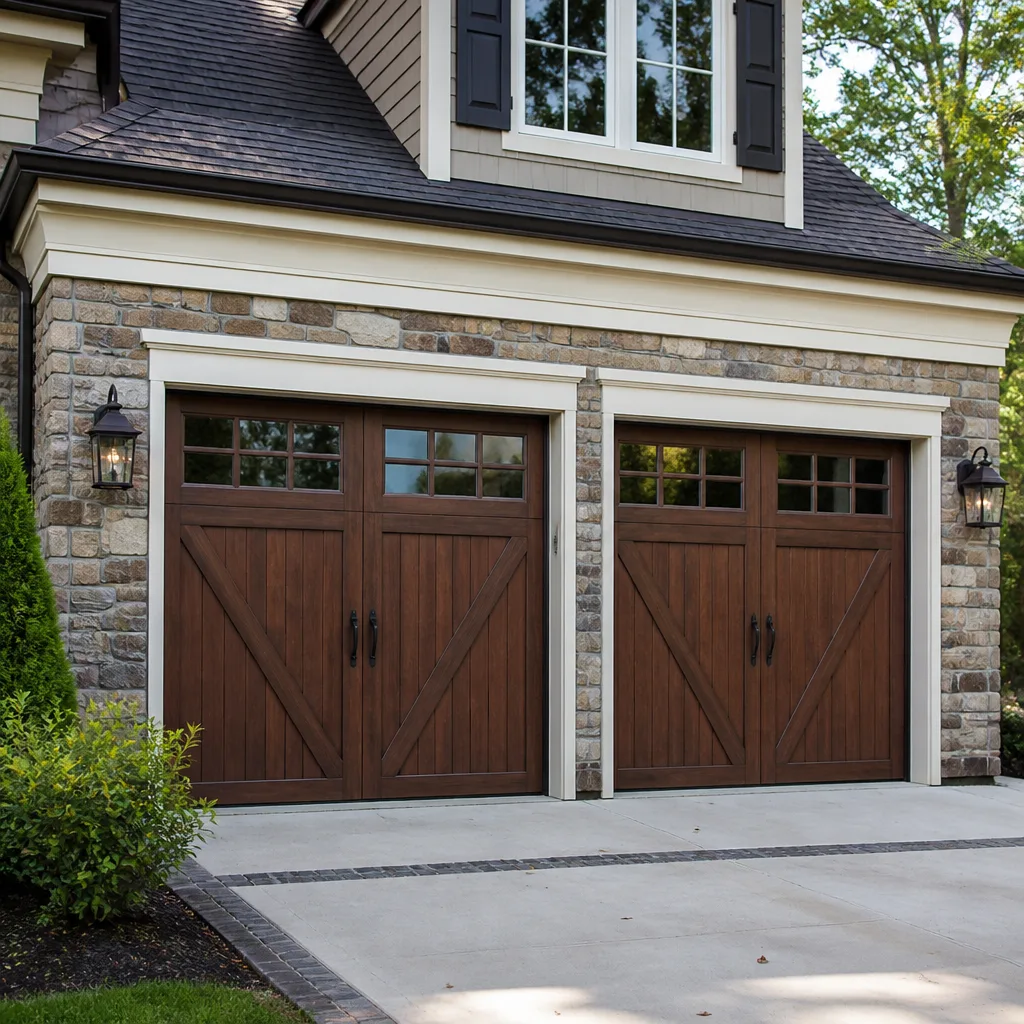 Carriage house
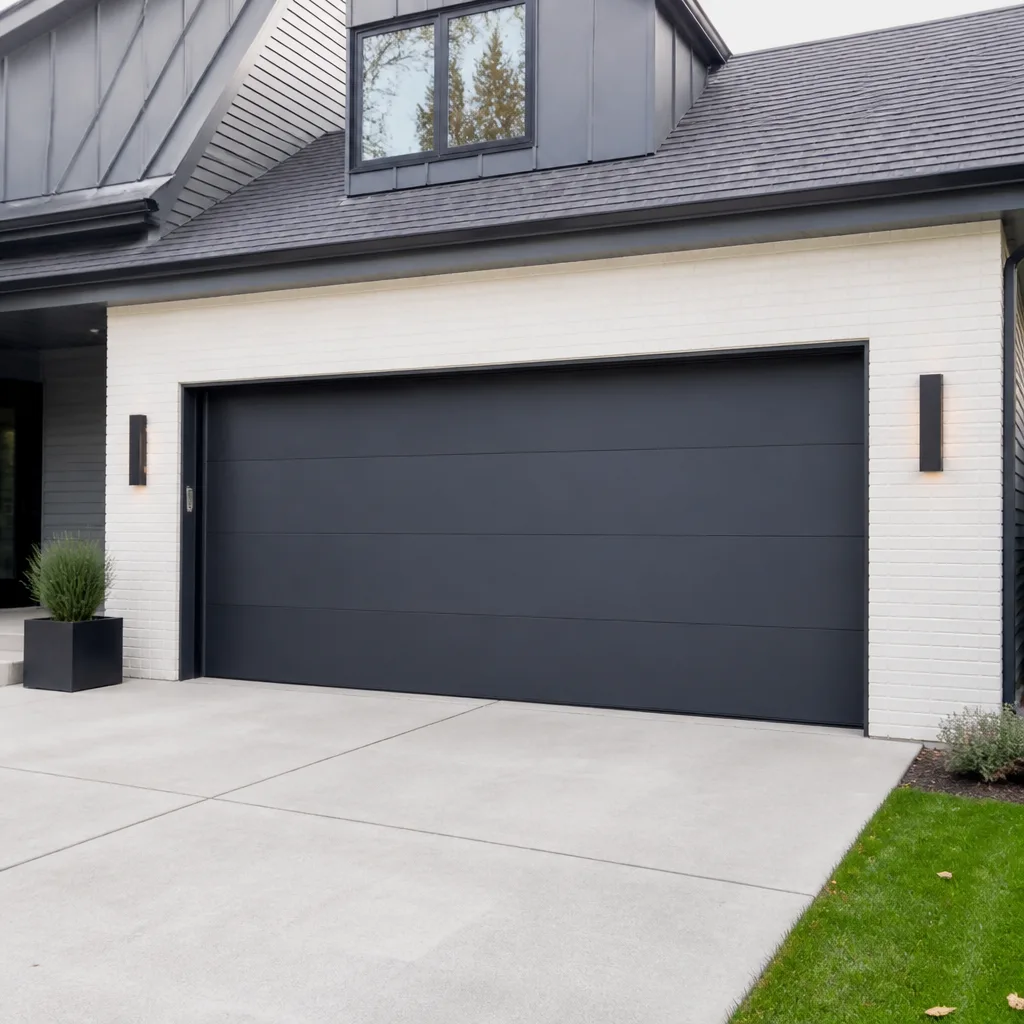 Modern flush
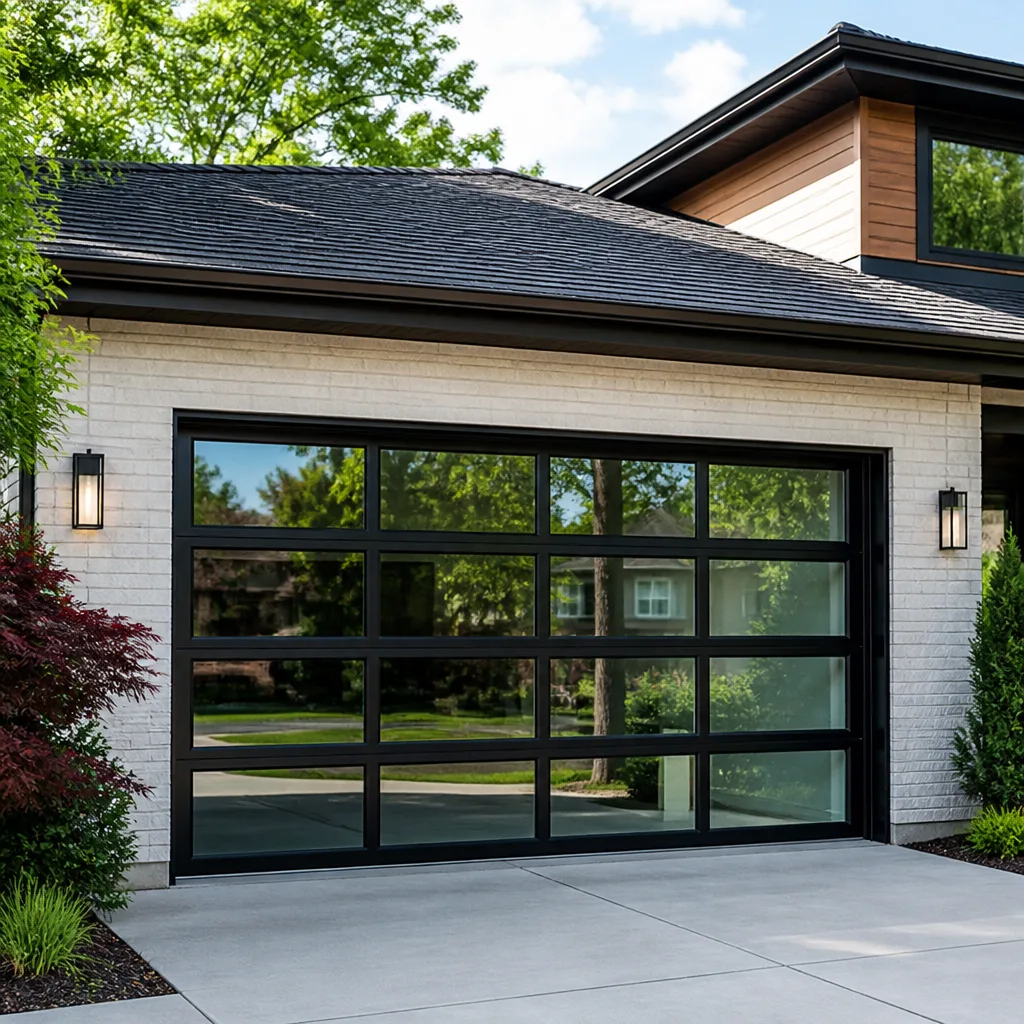 Full-view glass
 LiftMaster openers
 Chamberlain openers
Full 25-point door and opener safety check with every visit - springs, cables, rollers, tracks, and your LiftMaster or Chamberlain opener included
You get a price before we start. It does not change when the pro arrives.
Get your free estimateGarage Door Repair Maintenance Schedule: What to Do and When
Most maintenance advice you’ll find online hands you a calendar: check the door in spring, oil it in fall, call someone once a year. That advice sounds tidy, and it’s mostly wrong for the way a garage door actually wears out. A door that opens four times a day travels 1,460 cycles a year. Most torsion springs are rated for about 10,000 cycles, which puts a hard-working door on a roughly seven-year clock before the spring gives out, and skipping lubrication can cut that lifespan in half. Your neighbor’s door and yours can be the same age and nowhere near the same condition. This guide gives you a maintenance schedule built around cycles, not dates, with the seasonal prep that Belmont Cragin winters and summers actually demand.
Quick Answer
Build your garage door maintenance schedule around how often the door moves, not the calendar. Do a quick safety and balance check every 500 cycles, a hardware and lubrication pass every 2,000 cycles, and a full inspection of springs, cables, rollers, and weatherstripping once a year. In Belmont Cragin, add a pre-winter cable and seal check before the first hard freeze and a spring rebalance after the summer heat.
Styles & brands we work with
- Raised-panel steel
- Carriage house
- Modern flush
- Full-view glass
- LiftMaster openers
- Chamberlain openers
Table of Contents
- Why Cycles Beat Calendars
- The Cycle-Count Framework: 500, 2,000, and Annual Tasks
- The Five-Point Lubrication Map (and What Never Gets Greased)
- Belmont Cragin Seasonal Prep: Freeze Season and Summer Heat
- How to Log Maintenance So a Technician Can Read It
- Which Tasks Actually Extend Hardware Life
- Balance and Safety Checks You Can Do Safely
Why Cycles Beat Calendars
A garage door is one of the few machines in your home that counts its own work. Every time it goes up and comes down, that’s a cycle, and every moving part on the door wears a little with each one. The calendar tells you nothing about that. Two doors in the same block of Belmont Cragin can be identically aged and wildly different in condition depending on how often they run.
Consider the spread. A single-car door on a house where someone parks in the garage twice a day might log around 730 cycles a year. A double door on a busy household with a home business, kids coming and going, and a car parked inside every night can easily clear 2,500. Same model, same install year, same street. One door has years of life left in its springs and the other is near the end of its rating.
This is why “check it every spring” is a weak schedule. It under-inspects the hard-working door and over-inspects the lightly used one. A cycle-based schedule fixes that, and it also tells you something more useful: roughly when your torsion springs are due to fail.
Most torsion springs carry a cycle rating, typically around 10,000 for standard residential springs. Divide that by your daily cycles and you get an estimated service life. A door that runs four times a day lands near seven years. A door that runs eight times a day lands closer to three and a half. You don’t need an exact count to benefit from the ballpark, you just need to think in cycles. If your springs are coming up on their rating, you can plan the replacement instead of discovering it at 7 a.m. on a cold morning when the door won’t lift.
None of this means lubrication and adjustment don’t matter. They do, and skipping them shortens the count. Lubrication is the single easiest thing you can do to get the full rated life out of a spring and the rest of your hardware.
The Cycle-Count Framework: 500, 2,000, and Annual Tasks
Here’s the schedule we recommend to homeowners and property managers across Belmont Cragin. Instead of assigning tasks to months, assign them to cycle milestones. If you don’t track cycles, a rough conversion works: 500 cycles is about four months for a typical household door, and 2,000 cycles is roughly a year to eighteen months.
Every 500 Cycles (about four months of normal use)
- Listen. Open and close the door once with nothing else running. Grinding, squealing, popping, or a door that shudders on the way up means something needs attention now, not at the next milestone.
- Eye the springs and cables. Look for gaps, rust streaks, or a visibly stretched spring. Look for frayed strands or slack on the cables. Don’t touch either one. Just look and note.
- Check the safety reverse. Put a piece of wood flat on the floor in the door’s path and close it. The door should reverse on contact. If it doesn’t, stop using it and get it looked at.
- Look at the weather seal. Any daylight visible under a closed door means the bottom seal is worn or the door is out of adjustment.
Every 2,000 Cycles (roughly once a year)
- Lubricate the five moving points. Details in the next section.
- Test the balance. Pull the release and lift the door by hand halfway. It should hold there without help. If it drifts down or shoots up, the springs are out of balance.
- Inspect rollers and hinges. Worn rollers, loose hinges, and bent track brackets are common at this point.
- Tighten the obvious fasteners. Hinge screws and bracket bolts work loose over time. Snug them, don’t overtighten.
Once a Year (or every 4,000 cycles, whichever comes first)
- Full inspection of springs, cables, drums, and bottom brackets by a professional
- Weatherstripping and bottom seal condition check
- Opener safety sensor alignment and force setting check
- Track alignment and roller replacement if worn
- Review of the maintenance log to spot deferred wear
The cycle framework is the backbone. The annual professional inspection is what catches what you can’t see from the floor.
The Five-Point Lubrication Map (and What Never Gets Greased)
Lubrication is the highest-value maintenance task on a garage door, and it’s the one most people get wrong. You don’t spray everything. You lubricate five specific points with the right product, and you leave certain parts alone. Get it right and your springs, rollers, and hinges last measurably longer. Get it wrong and you’ll collect grit and grime that wears parts faster than dry metal would.
What you need: a white lithium grease or a garage-door-specific spray lubricant. Not WD-40, which is a solvent, not a lasting lubricant, and not cooking spray, which draws dust.
The Five Points That Get Lubricated
- Hinges. One short spray at the pivot point of every hinge between sections.
- Rollers. A drop on the bearing of each roller where it meets the stem.
- Torsion spring coils. A light spray along the length of the spring. This is the one that most extends spring life by reducing friction between coils.
- Track curves. The curved section of the track where the door transitions from vertical to horizontal gets a light coat. Not the whole track.
- Opener rail or chain. A light application on the rail or a chain-drive opener chain, per the opener manufacturer’s guidance.
What Never Gets Lubricated
- The bottom seal. Rubber weatherstripping needs to grip the floor to keep water and rodents out. Greasing it defeats the purpose and attracts dirt that damages the rubber.
- The track itself. Greasing the vertical track collects grit and clogs the rollers. The rollers are what get greased, not the track they ride in.
- The cables. Cables are a wear item that needs inspection, not lubrication. Don’t handle them.
One pass, five points, about five minutes. If your door uses a Wayne Dalton TorqueMaster system or a Craftsman opener, follow the manufacturer’s guidance on any parts specific to that setup. If you’re not sure what your door uses, we work on the brand you already have and can tell you on a service visit.
Belmont Cragin Seasonal Prep: Freeze Season and Summer Heat
Belmont Cragin gets both extremes, and they push on a garage door in different ways. Winter brings freeze-thaw cycling that works on cables, seals, and anything rubber. Summer heat expands metal and can throw a balanced door slightly out of adjustment. The cycle-based schedule handles wear. Seasonal prep handles the specific stress each season puts on your hardware.
Before the First Hard Freeze: The Pre-Winter Check
- Cable tension. Look for slack cable or a cable sitting unevenly on the drum. Cold cables lose some of their elasticity, and a slack cable can snap or jump the drum in low temps. This is an inspection, not a DIY adjustment. If the cable looks off, get it checked.
- Weatherstripping. Run a hand around the perimeter of the closed door. Any flex or gap means the seal is worn and may let in cold air and water, which then freezes and binds the door.
- Bottom seal. A cracked or frozen bottom seal can freeze to the floor and tear on the first open. Check it before the cold settles in.
- Lubricate before the cold. Grease thickens in the cold, so a freshly lubricated door runs more smoothly on the first freezing mornings.
- Balance check. A door that’s slightly out of balance in October can fail to close fully in January when the tracks stiffen.
After Summer Heat: The Post-Season Rebalance
Metal expands in the heat. A torsion spring that was perfectly balanced in March can sit slightly out of tension by August. The symptom is a door that drifts down a few inches when you let it go halfway, or one that slams on the way down. Test the balance with the release (following the safe procedure in the balance check section). If it’s off, that’s a spring adjustment, which is a professional task. Don’t try to adjust torsion spring tension yourself.
Late summer is also when the tracks and rollers pick up the grit of a full season of use. A wipe-down of the tracks with a dry cloth and a fresh lubrication pass resets the door for fall.
For a broader look at handling a broken door in the middle of a Chicago-area cold snap, see our garage door repair Belmont Cragin guide.
How to Log Maintenance So a Technician Can Read It
The most under-used tool in home maintenance is a simple log. A garage door technician who walks up to a door with a written maintenance history can instantly see what’s been done, what’s been skipped, and where the wear is likely hiding. Without a log, every service call starts from zero.
You don’t need an app. A sheet of paper taped inside the garage near the opener works. Here’s what to record:
- Date and approximate cycle count. If you don’t have a cycle counter, note the date and use the 500-cycle convention (roughly every four months) to estimate.
- Tasks done. A simple checklist. Lubricated, balanced, seals checked, reverse test passed.
- What you noticed. A new squeak. A door that drifts. A weather seal starting to crack. One line per observation is enough.
- Who did it. Self, or a professional visit with what was serviced.
- Parts replaced. Roller brands, spring age, seal replacement dates. If your door uses an Amarr or Raynor system, note the model so parts are the right fit.
The payoff is real. A technician who sees a log showing “drift noticed in October, not addressed” will look at the springs first. A technician facing a door with no history will methodically inspect everything, which takes longer. Your log saves time on the service call and gives an honest picture of what your door needs. If a previous service replaced a spring, the log also tells the tech roughly how many cycles are on that spring, which is the single most useful number for predicting the next failure.
For property managers running multiple units, the log matters even more. One sheet per door, one column per check, and a maintenance budget based on real cycle counts rather than guesswork.
Which Tasks Actually Extend Hardware Life
Not every maintenance task is worth its time. Some genuinely add years to your door’s hardware, and some are ritual. Here’s how we rank them by real-world impact.
High impact: these add life
- Lubrication at the five points. The single best return on five minutes. Lubrication reduces friction on springs, rollers, and hinges, and skipping it can shorten spring life significantly. Do this before anything else.
- Balance testing and prompt rebalancing. An out-of-balance door stresses the opener, rollers, and springs. Catching it early prevents the cascade of failures that ends in a full replacement.
- Weatherstripping and bottom seal maintenance. A failing seal lets in water, which rusts tracks and hinges. In Belmont Cragin’s freeze-thaw climate, that’s a direct path to premature hardware failure.
- Roller replacement when worn. Nylon rollers last longer and run quieter than the steel rollers on older doors. Replacing them before they fail protects the track and reduces opener strain.
Moderate impact: worth doing, lower return
- Tightening loose hinges and brackets. Prevents rattles and misalignment but doesn’t dramatically extend life.
- Track cleaning. Keeps rollers running smoothly but is mostly cosmetic if the rollers are already lubricated.
- Safety reverse test. Essential for safety, but it’s a check, not a wear-reducer.
Low impact: mostly ritual
- Painting or cosmetic touch-ups. They protect against rust at the edges but don’t affect operation.
- Wiping down the door face. Only matters if you’re in a dusty area, and even then it’s minor.
- Adjusting the opener force setting unless it’s actually needed. Often it just masks a door that needs real adjustment.
The pattern is clear: anything that reduces friction or keeps the door in balance pays off. Anything cosmetic is fine but doesn’t buy you hardware life. Spend your time on lubrication, balance, and seals, and let the rest be optional.
Balance and Safety Checks You Can Do Safely
Two checks you can and should do yourself, every 500 cycles or so. Neither requires touching a spring or a cable. If either fails, stop using the door and call.
The Balance Test
- Close the door fully.
- Pull the emergency release cord so the door is disconnected from the opener. Do this with the door down, never with it up. A disconnected door with a broken spring can drop.
- Lift the door by hand to about halfway and let go.
- The door should hold in place or drift only slightly. If it slams down or shoots up, the springs are out of balance and need adjustment by a technician. Reconnect the opener and stop using the door until it’s checked.
The Safety Reverse Test
- Place a piece of wood flat on the floor in the door’s closing path.
- Close the door using the opener or wall control.
- The door should reverse immediately on contact with the wood. If it doesn’t, the safety reverse isn’t working and the door should not be operated until it’s fixed.
- Also test the photo-eye sensors. Wave an object between the two sensors while the door is closing. It should reverse. If the sensors are misaligned or the indicator lights are off, the door is a hazard.
What you should never do yourself: adjust torsion springs, replace springs, or handle cables. Torsion springs are under extreme tension and can cause severe injury if they release unexpectedly. Cable and spring work belongs to a trained professional. Every technician we work with is trained specifically on garage door hardware and treats these as the safety-critical jobs they are. If a spring is broken, don’t try to open the door manually, and don’t try to “help” it with a pry bar. Call and have it handled properly.
For opener issues that show up during a balance or reverse check, our garage door opener repair guide covers what to look at and when to stop troubleshooting.
Common Mistakes to Avoid
- Scheduling by calendar instead of cycles. A door that runs hard needs attention sooner than a lightly used one, and a “check it every spring” schedule misses that. Count cycles or use the four-month convention.
- Greasing the tracks. This is the most common lubrication mistake. Grease collects grit and clogs the rollers. Lubricate the rollers and hinges, not the tracks they ride in.
- Using WD-40 as lubricant. WD-40 is a solvent that displaces moisture but doesn’t stay put as a lasting lubricant. Use white lithium grease or a garage-door-specific spray.
- Skipping the pre-winter cable check. Belmont Cragin’s cold can reveal a cable problem at the worst moment. A cable inspection before the first freeze is cheap insurance.
- Adjusting torsion springs on your own. This is the one task that causes serious injury every year. Springs are under extreme tension. Don’t.
- Running a door with a broken spring. A door with a broken spring is out of balance and can drop or damage the opener. Stop using it until a technician handles it.
- No maintenance log. Without one, your technician has no history to work from and can’t tell which wear is deferred.
See the difference
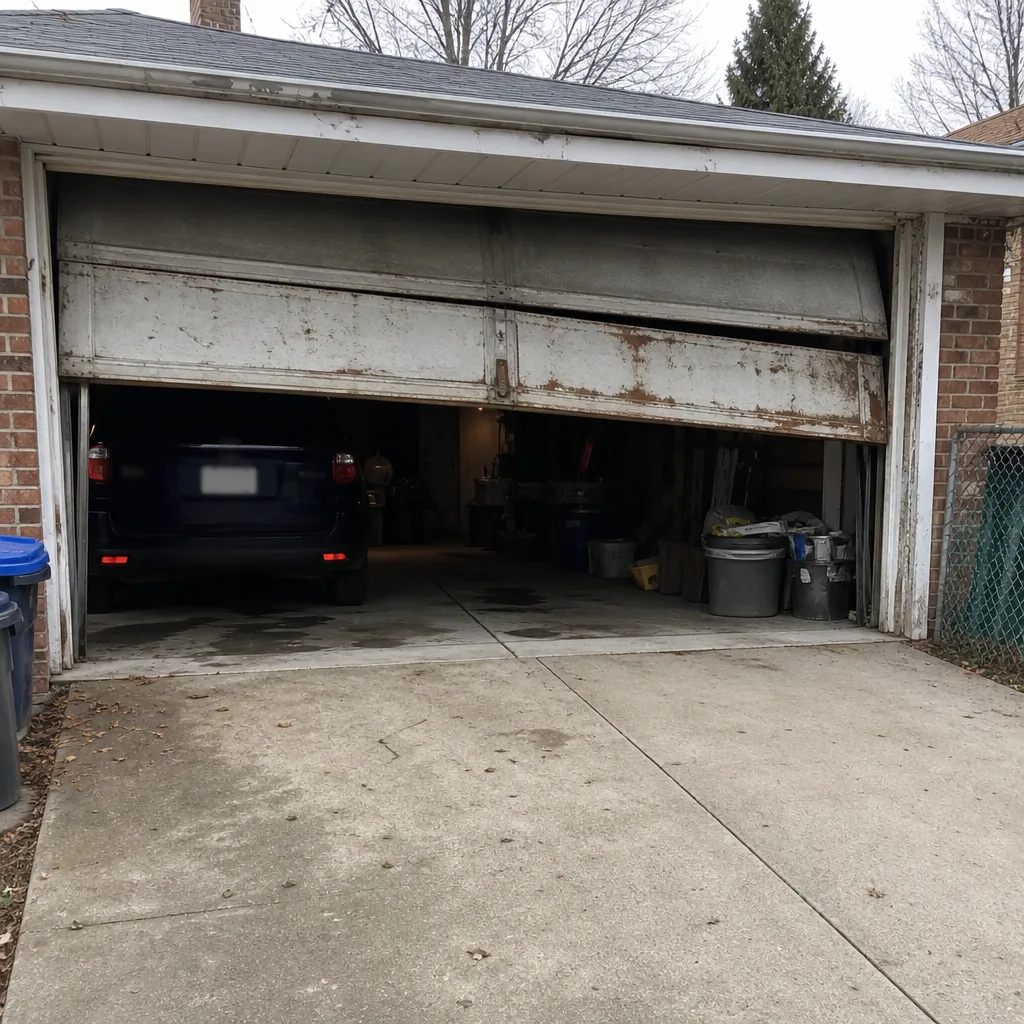 Before
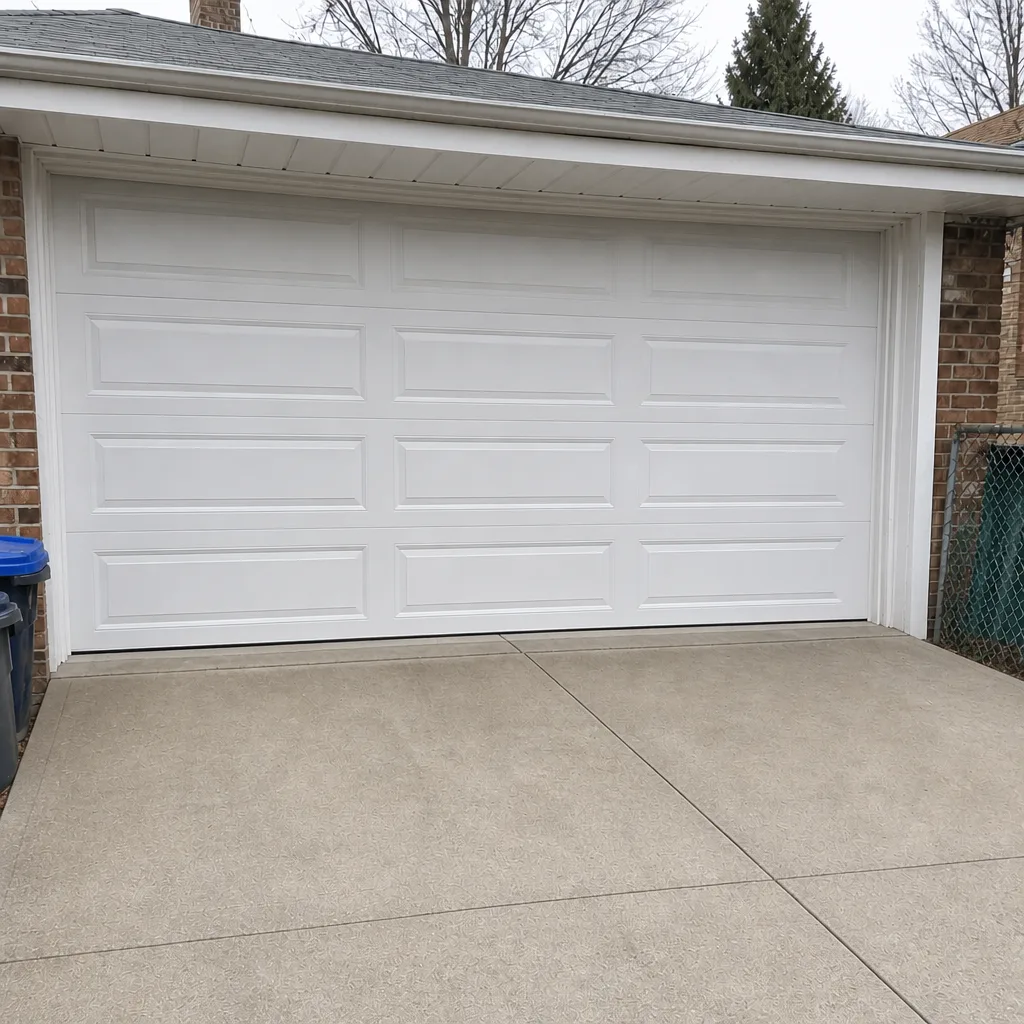 After
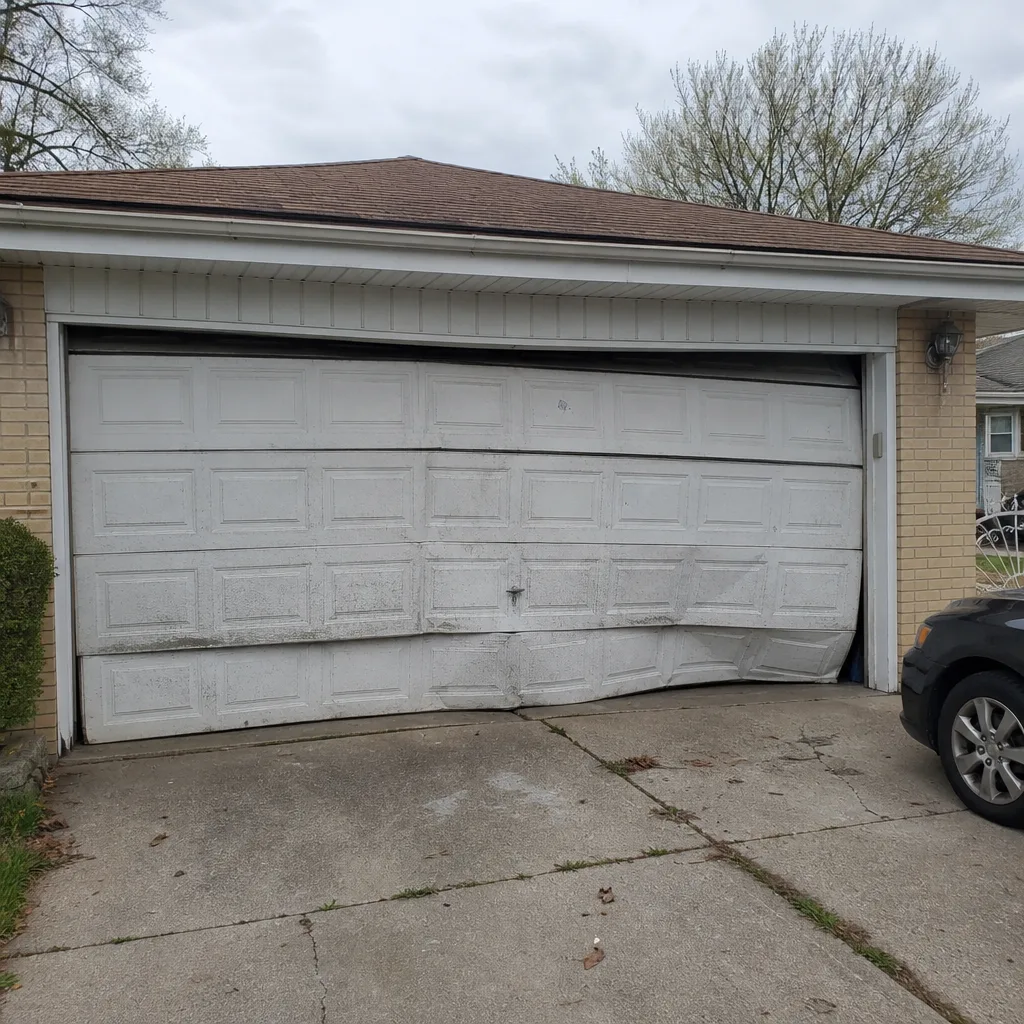 Before
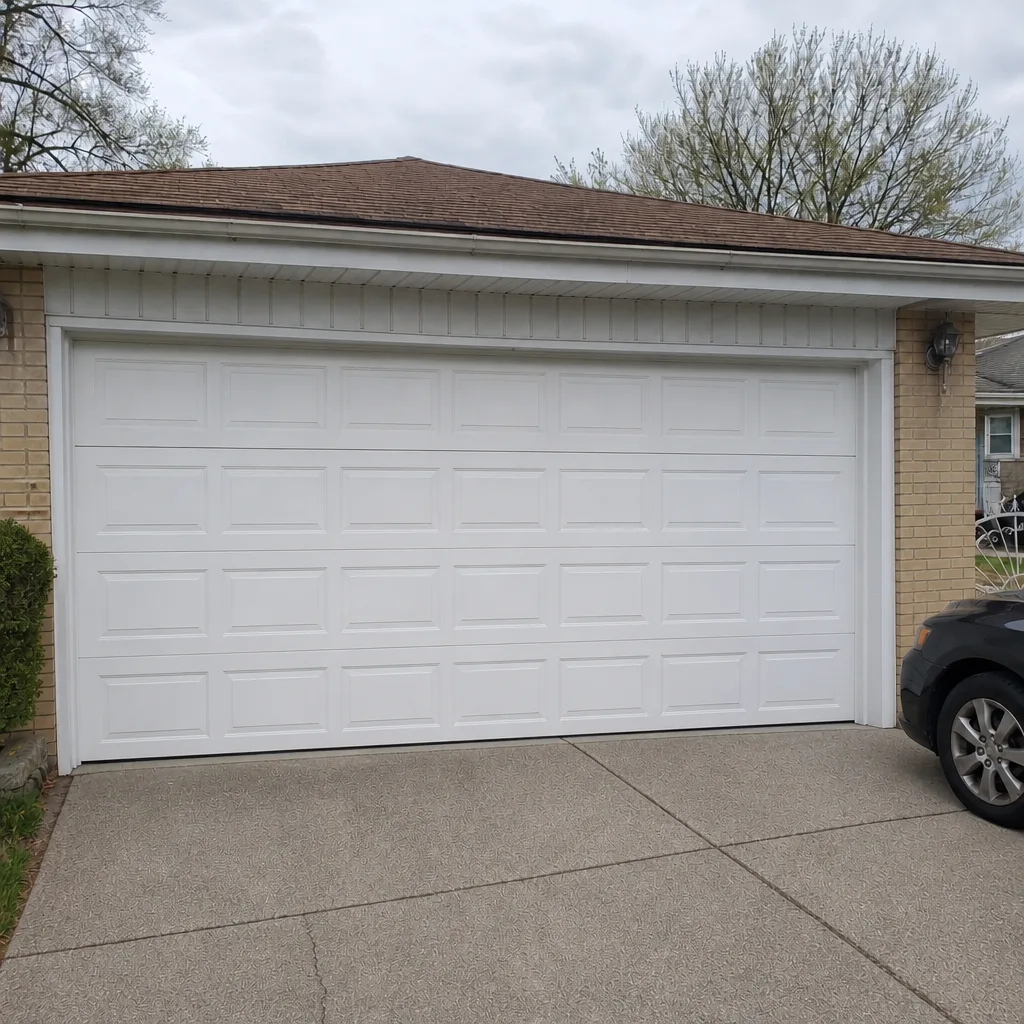 After
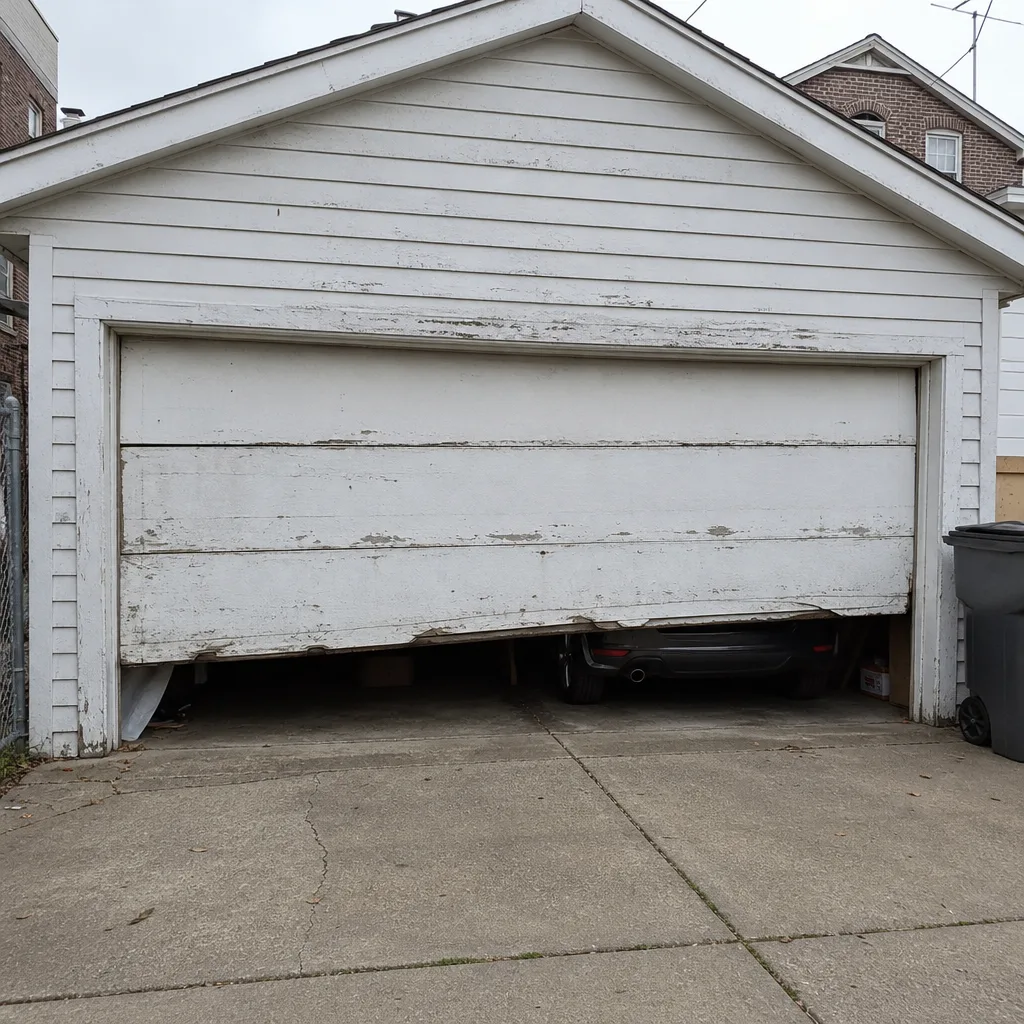 Before
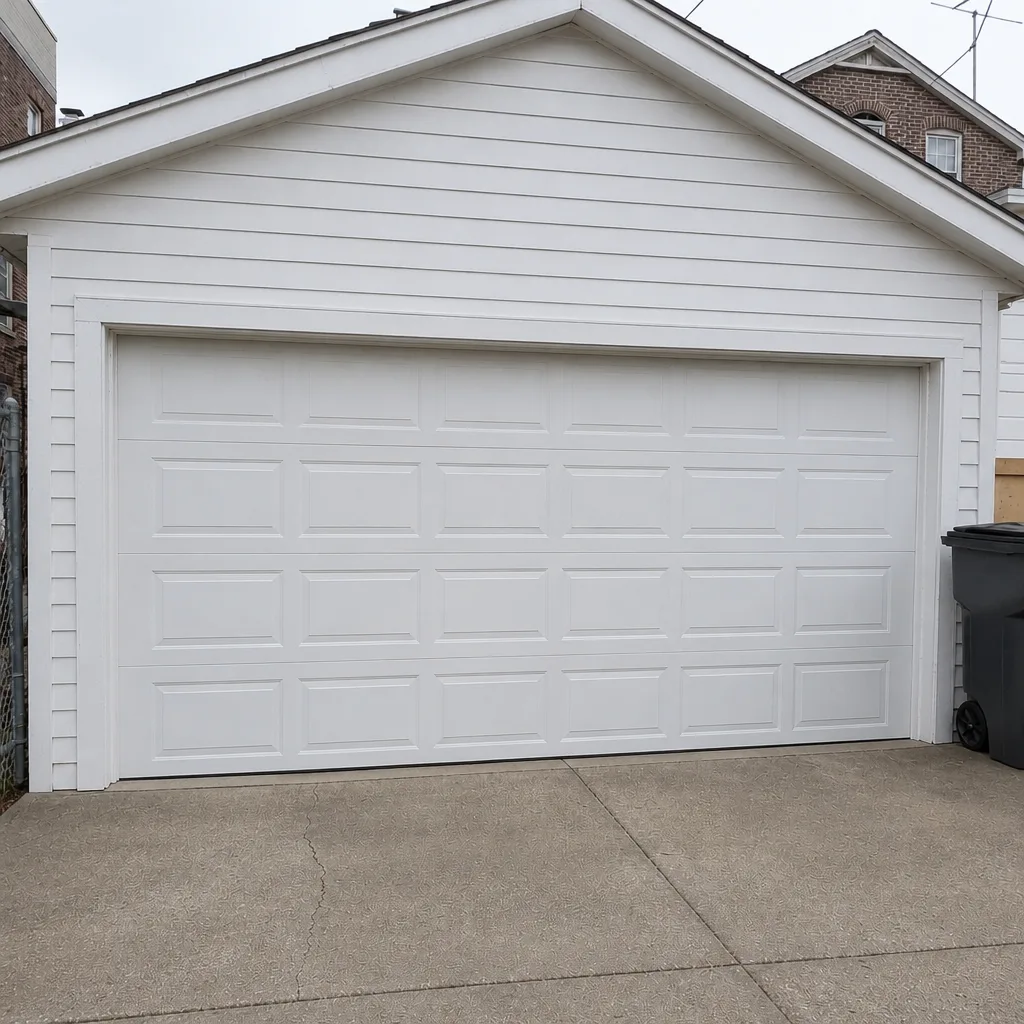 After
When to Call a Professional
Some of this schedule is yours to run. A few things aren’t. Call a professional if any of these are true: you hear a loud bang from the garage and the door won’t lift (likely a broken spring), a cable looks slack or frayed, the door hangs unevenly, the balance test fails, or the safety reverse doesn’t trip. Also call if your door is within about 2,000 cycles of its spring rating and you want to plan the replacement rather than wait for a failure. Spring and cable work is dangerous and belongs to a trained technician. Opener repair that involves wiring or the motor assembly is also a pro job.
Garage Door Repair Belmont Cragin offers free estimates in Belmont Cragin. Call (833) 468-5695 to schedule a maintenance visit or to get a straight answer on whether your door needs a repair or a replacement. We work on the brand you already have, from Amarr and Wayne Dalton to Craftsman and Raynor, and we handle springs, openers, panels, and full replacements. Our technicians have up to 10 years of experience, and every estimate is quoted and agreed before any work starts. If you’re weighing a new door against a repair, our garage door installation page walks through what gets measured and ordered before any work is scheduled.
Frequently Asked Questions
Lubricate every 2,000 cycles, which is roughly once a year for a typical household door, and always before the first cold snap in Belmont Cragin. Hit the five points: hinges, rollers, spring coils, track curves, and the opener rail. Never grease the tracks or the bottom seal. Call (833) 468-5695 for a free estimate if your door is overdue.
No. Torsion springs are under extreme tension and can cause severe injury if they release unexpectedly. Spring and cable work is the one part of garage door maintenance that should always go to a trained professional. If a spring is broken, keep the door closed and call (833) 468-5695.
A household door used four times a day runs about 1,460 cycles a year. Most residential torsion springs are rated around 10,000 cycles, which puts a hard-working door on a roughly seven-year clock before the spring is due. Count your daily opens and multiply by 365 to get your own number. Call (833) 468-5695 if you want help reading the age of your springs.
Yes, once a year. A door can be out of balance, have a failing cable, or have a worn bottom seal and still open and close. Those are the failures that lead to bigger repairs. An annual inspection catches them early. Garage Door Repair Belmont Cragin offers free estimates in Belmont Cragin, so call (833) 468-5695.
Cable tension, weatherstripping, the bottom seal, and spring balance. Cold thickens grease and stiffens metal, so a door that’s marginal in October can fail in January. Lubricate before the cold and get any slack cable or balance problem looked at. Call (833) 468-5695 to book a pre-winter check.
No. We quote and agree the price before any work starts, and the written estimate sets the final price. If the technician finds something that changes the job, you’ll hear about it and approve it before anything is done. Call (833) 468-5695 for a free estimate.
The Bottom Line
Build your garage door maintenance schedule around cycles, not the calendar. Do the 500-cycle safety and balance check, the 2,000-cycle lubrication and hardware pass, and one annual professional inspection. Lubricate the five points, never the tracks or the seal, and treat springs and cables as hands-off. In Belmont Cragin, add a pre-winter cable and seal check and a post-summer rebalance. Keep a simple log so a technician can read your door’s history at a glance. Do these and you’ll get full rated life out of your springs and hardware. Skip them and you’ll shorten that life noticeably. When something’s outside the safe DIY list, that’s where a specialist comes in, and we’re here for the garage door repair when it is.
For a free estimate in Belmont Cragin, call (833) 468-5695. We handle springs, openers, rollers, seals, panels, and full door replacements on the brands most homes already have, and every job is quoted and agreed before work starts.
Written by the team at Garage Door Repair Belmont Cragin.